I’ve mentioned before that I didn’t consider our wedding to be a “DIY wedding” until I realized how many things we ACTUALLY made ourselves. I think one of the easiest things to DIY for a wedding is paper products. If you have any experience with graphic design (like I do, from all the livejournal icon contests I entered in the mid 2000s), photoshop, and access to a nice printer, you can do a lot of it yourself. The main reason I decided to design a lot of our stuff myself is because I had an image in my head of how I wanted all of it to look and I just couldn’t find anything that looked like that. So…I did it myself!
For our wedding, I made all the table numbers, escort cards, programs, and signs, and my mom made the activity books that we gave to guests as favors. Most of it just required a little time in Photoshop and getting a lot of ideas from the internet. In this post I’ll be focusing on how I made our super cute fastpass-inspired escort cards and table numbers!
For the escort cards, we toyed with the idea of using paper fastpasses for a long time. There are a LOT of cool ones for sale on Etsy and other places but I didn’t like the clashing color schemes…real fastpasses come in a variety of colors and it just didn’t feel very cohesive to me. I wanted everything to look a little more pulled together and match our other plum and ivory decor. This image made the rounds on Pinterest a lot during my searches but I wanted to tweak a few things:
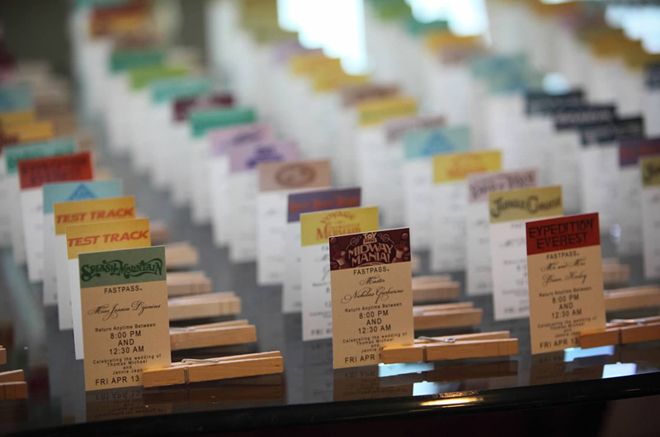
I didn’t like how the colors clashed like I mentioned before, and also the fonts really bothered me lol. I’m too much of a perfectionist to relinquish control to others, so I decided to hop into Photoshop and see if I could do it myself.
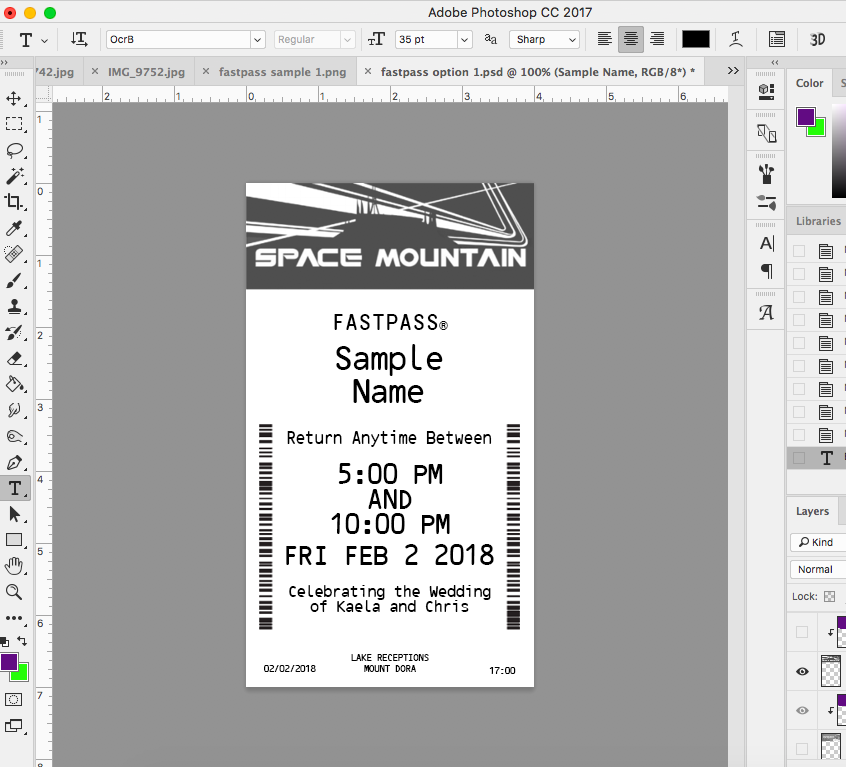
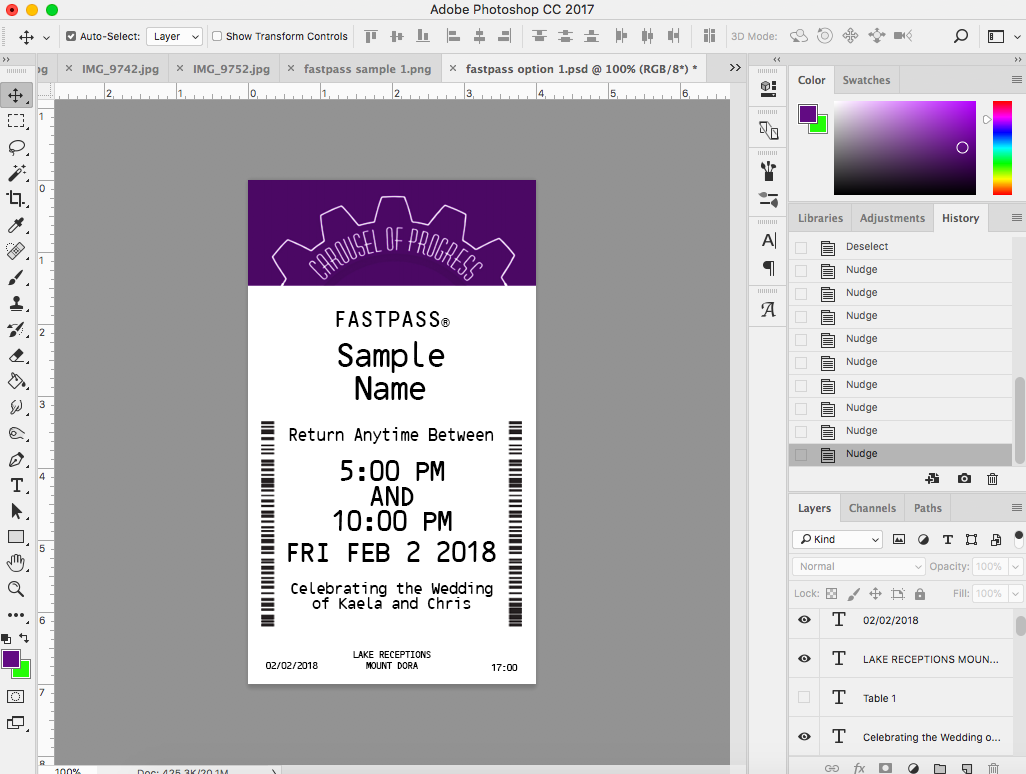
First I found an image of a real Disney fastpass that I could use as a sample. I also measured a real FP to make sure I made these true to size – they’re about 2″ x 3.5″, if you’re wondering. I made my document 4″ x 7″ so we could size them down in printing and make sure the image quality was good.
I also searched the internet and was able to find a lot of good quality artwork from real fastpasses to use as the headers. I basically just opened the real FP in Photoshop as a template of sorts, set the opacity to 50% and started typing over it and putting in images until it started to look good. I used it as a layout to figure out where to put text and pictures, including the headers. I changed the saturation of the headers to be black & white so the different colors didn’t mess with my ~vision~.
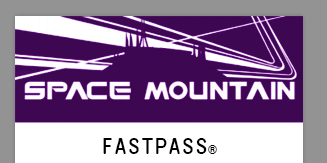
After messing around with the headers til I found the ones I liked, I created a clipping mask with the individual ride artworks to overlay a layer of plain purple to get the plum hue that I wanted. Making the layers black and white also really helped the plum color to come through the way I envisioned. The layers looked like this:
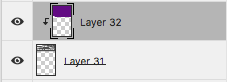
The ride headers turned out SO stunning! I had to play with the color a little bit to get the hue that matched our existing colors – what I ended up with was #620b83. Once I got it just right I set the purple layer to Overlay and it was turning out exactly how I wanted.
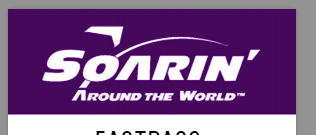
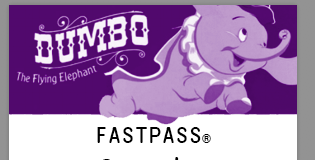
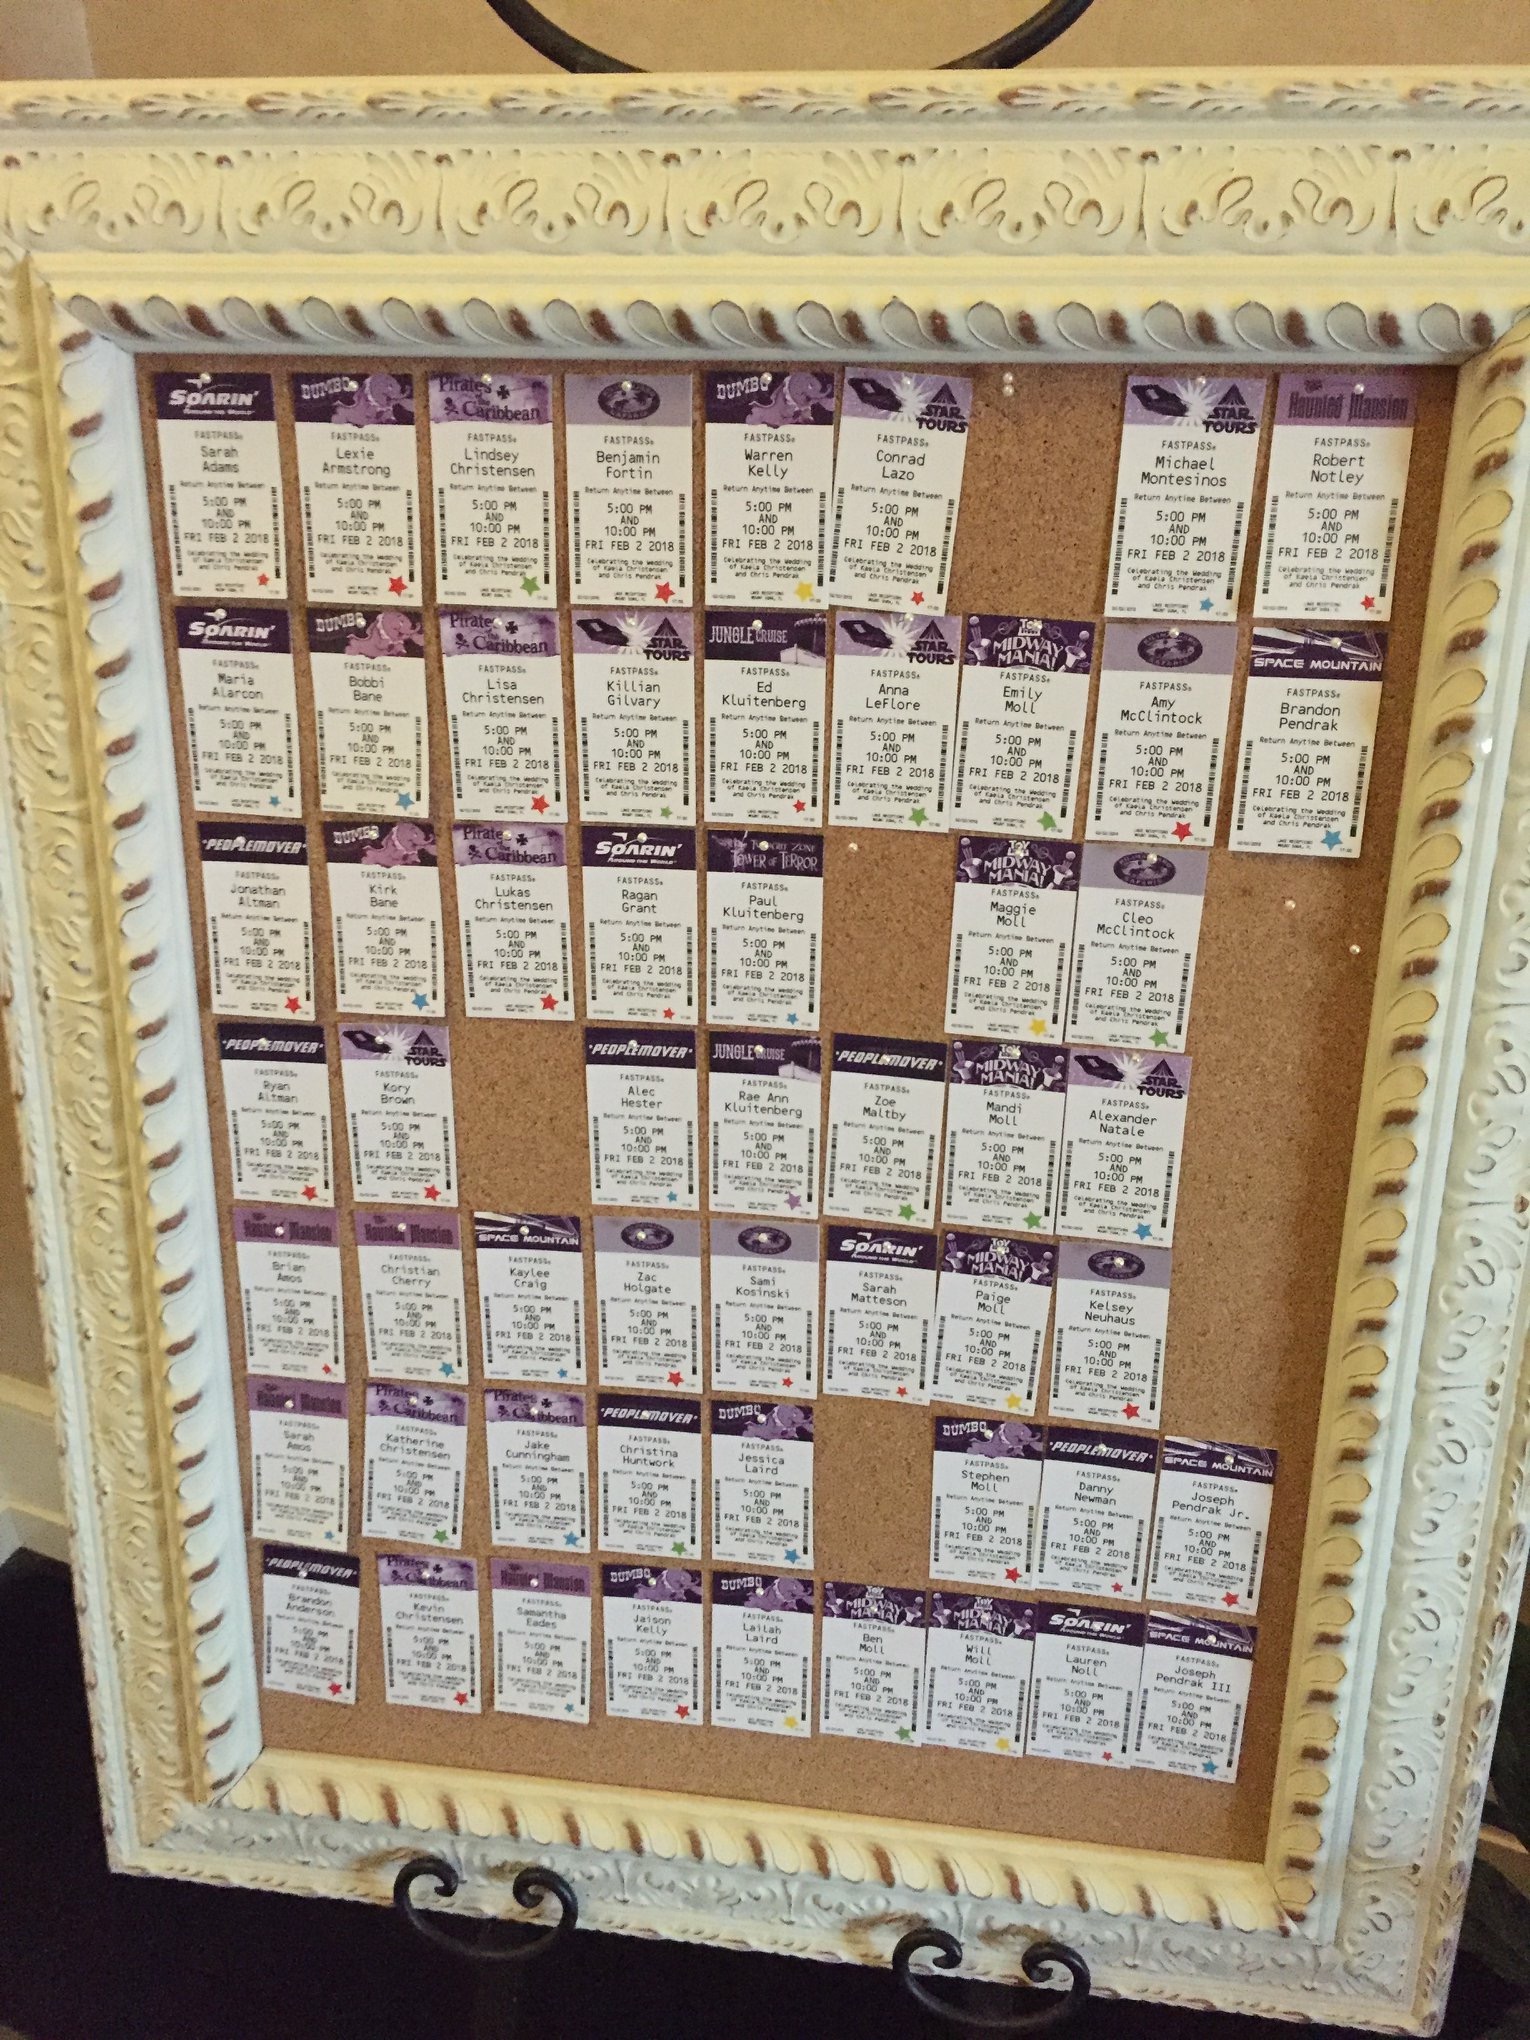
As for which rides we chose, we honestly just looked for ones that were our personal favorites and were also pretty recognizable. We had a lot of guests at our wedding that aren’t as familiar with Disney parks as we are, so we wanted to make sure that everyone had a ride they were at least somewhat familiar with. Some of our favorites rides also didn’t translate well to fastpasses so they didn’t quite make the cut. The full list that we ended up using was Pirates of the Caribbean, Dumbo, Jungle Cruise, Toy Story Mania, Big Thunder Mountain, Space Mountain, Tower of Terror, Haunted Mansion, Soarin, Peoplemover, Star Tours and Safaris!
The hardest part honestly was finding the perfect font. I used a lot of “what font is this” websites before I found it – it’s called OCR B. I was able to easily find it for free to download with some googling!
And not too much later (just kidding, after several hours and days of work…) – I had my finished product and I was sooo happy with it!!
For the final product, I had to go in and manually enter each guest’s name and then we copied them all into a Word document for printing. We printed them on a cardstock material about the same weight as a business card so they were as close as possible to the real thing. I completely LOVE how they turned out!! I got so many comments from our guests – most people couldn’t believe I had made them myself! It also served as a fun keepsake for people to take home – or maybe it was just me that did that ¯\_(ツ)_/¯
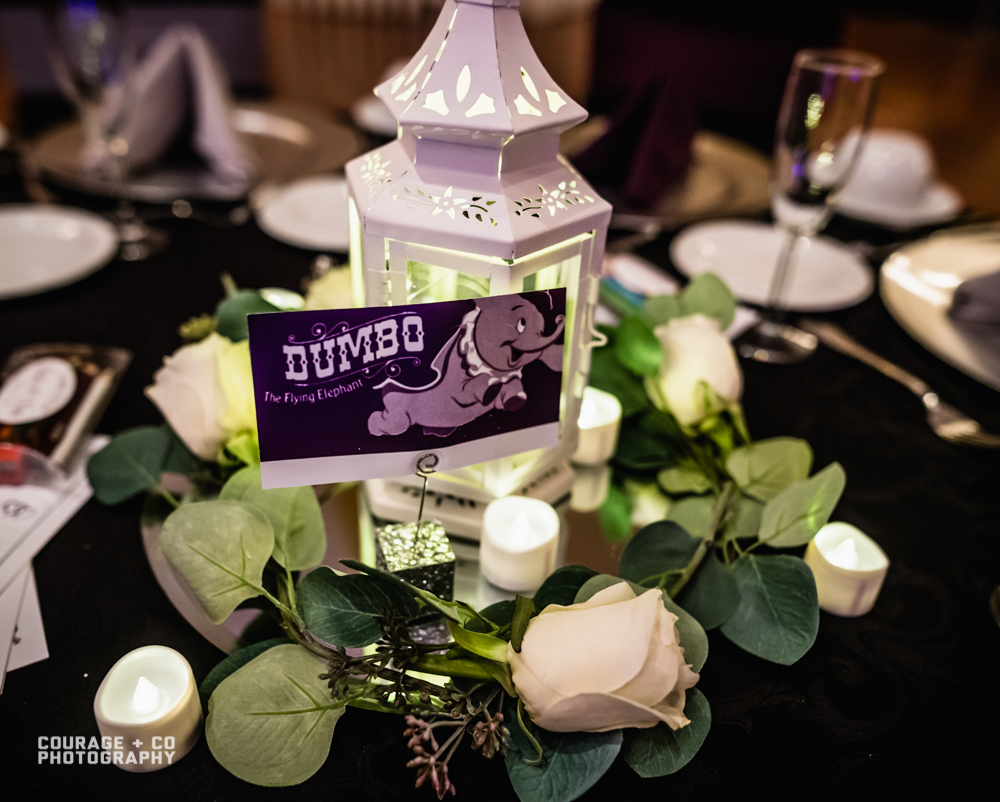
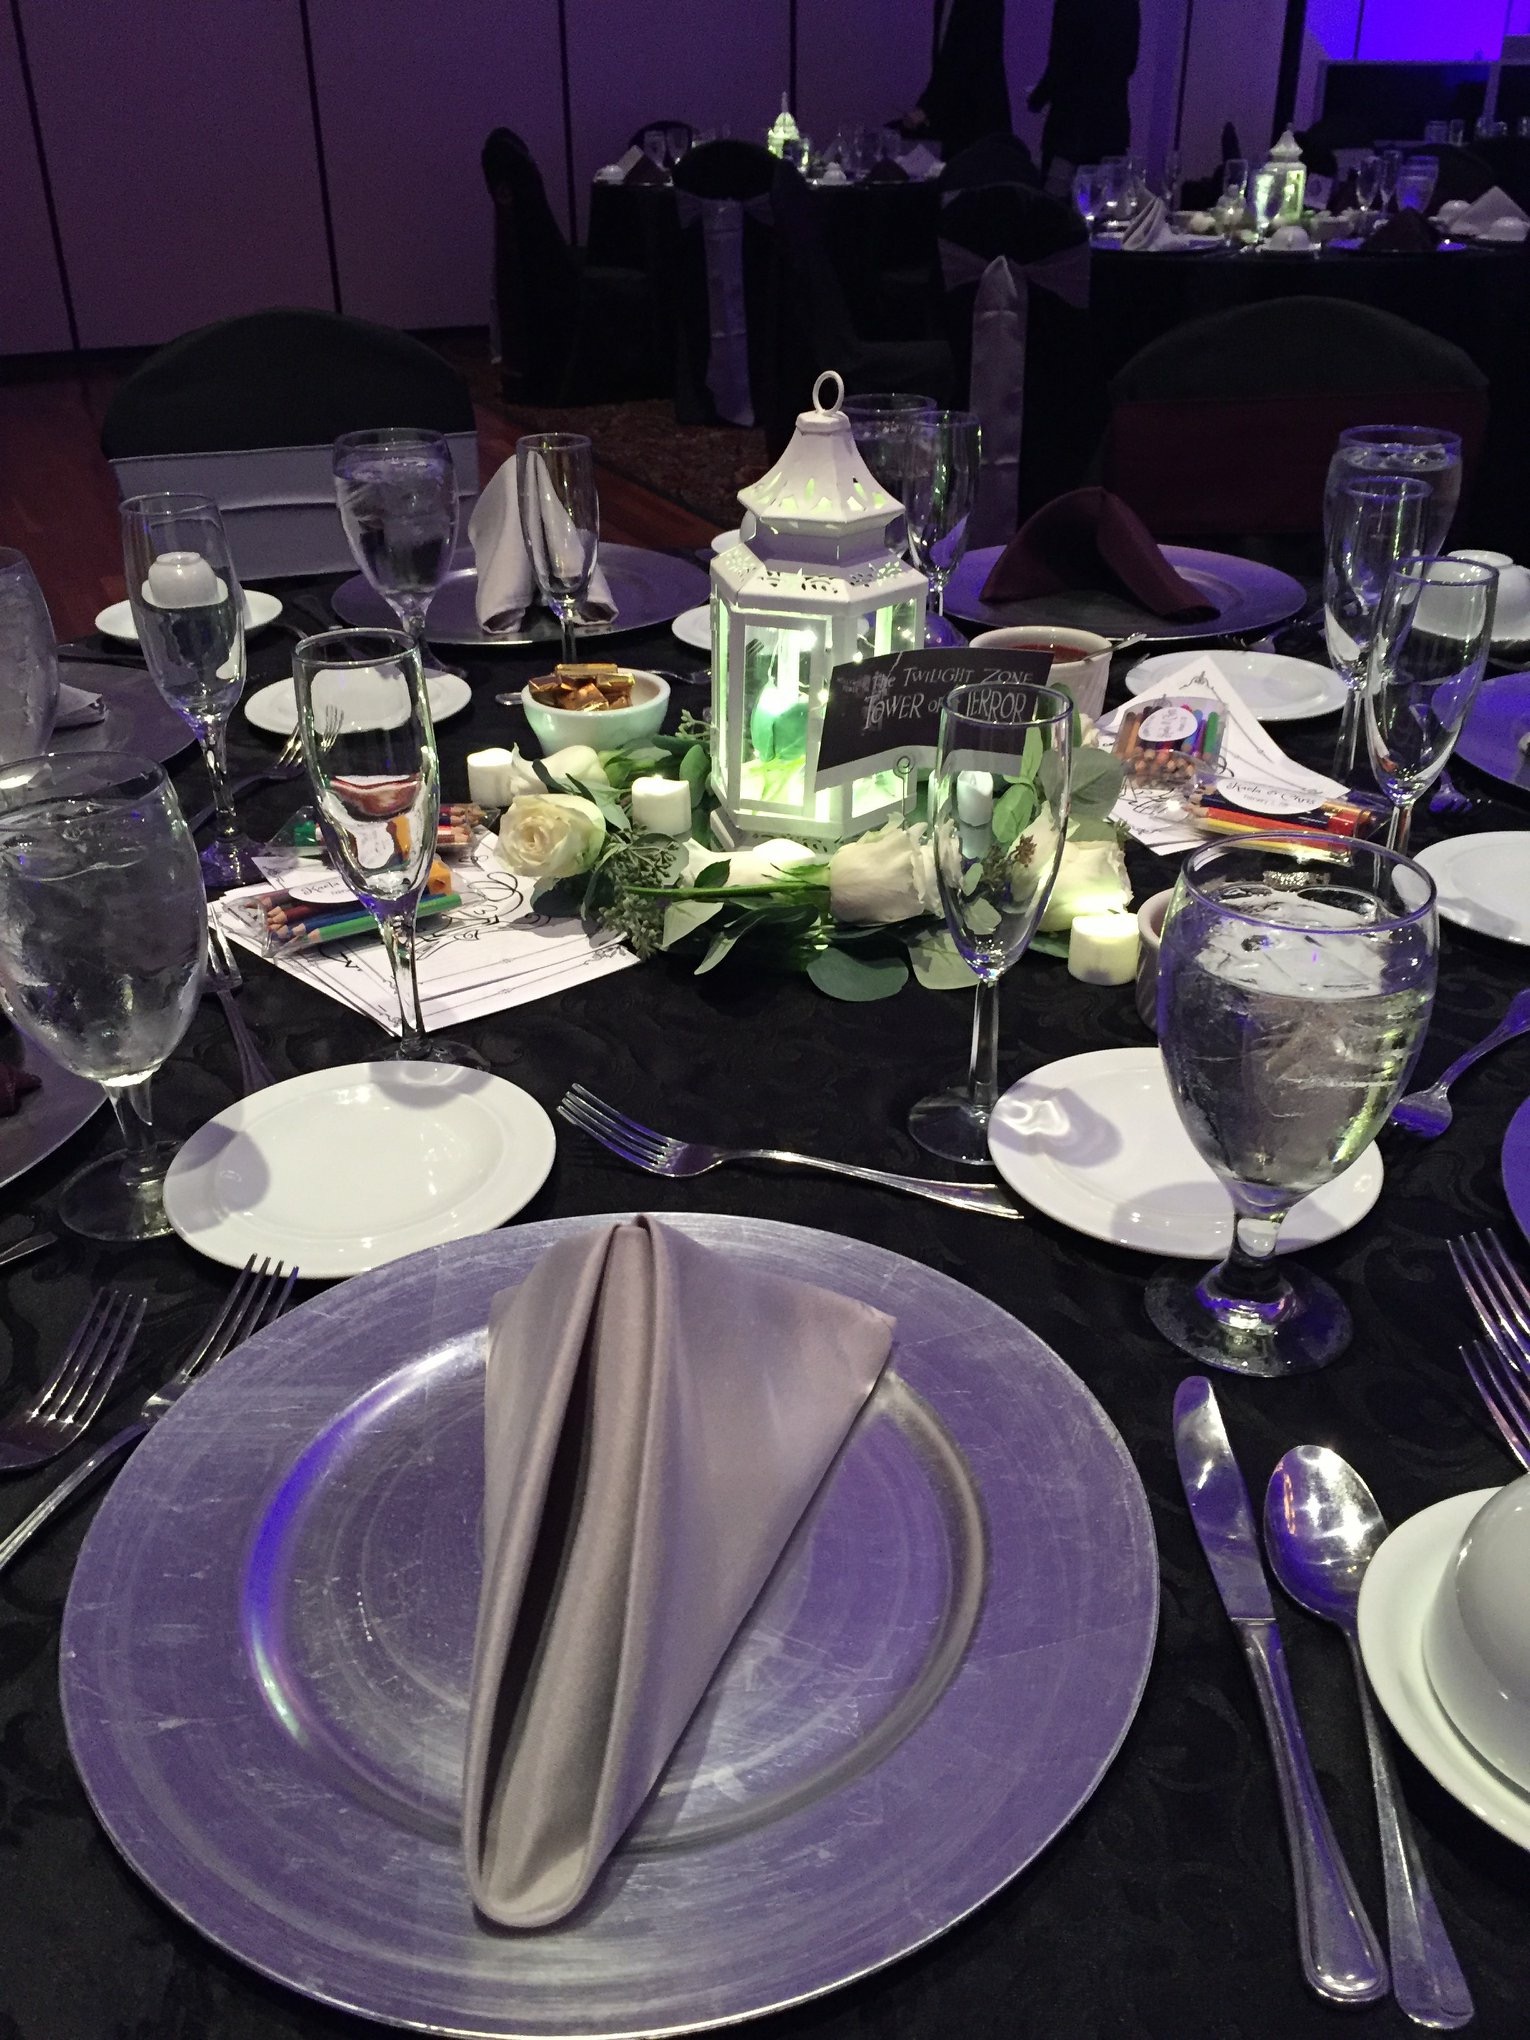
The table numbers were pretty easy once I got the fastpasses done. I basically just took the same artwork that I used for the headers and made it as big as I could without messing up the quality of the image. That ended up being pretty small, only about the size of an index card – so I cropped the canvas a little bigger to add some white space to the bottom:
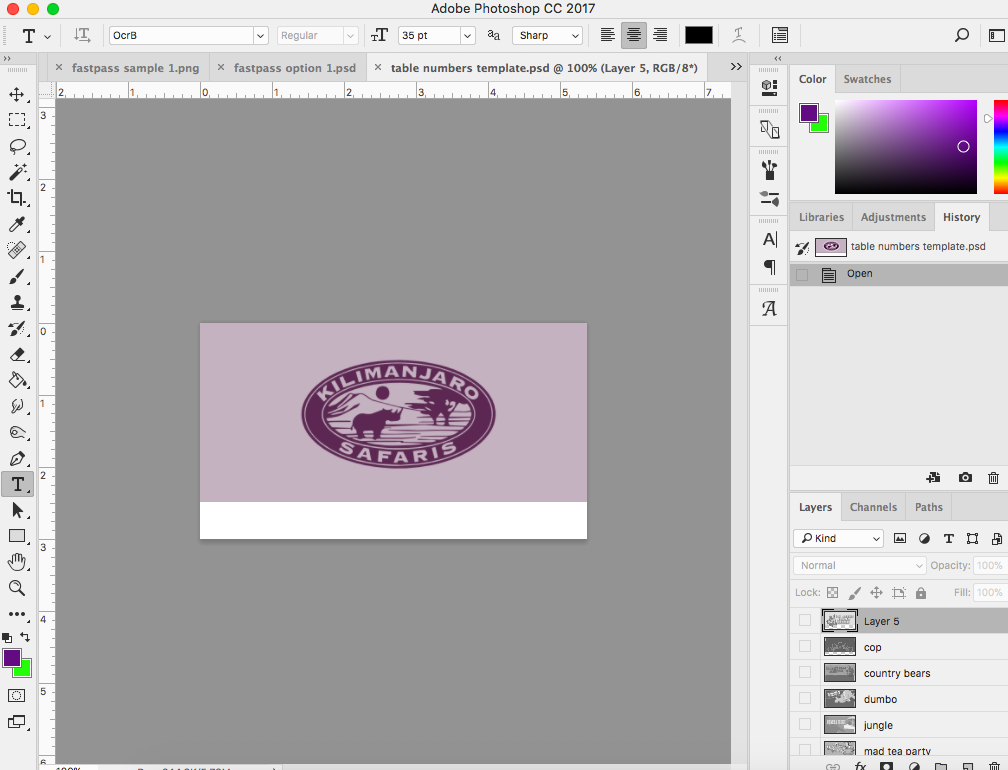
They were still pretty small but I was happy with them. After that, I just did the same process to give it a purple overlay to match the fastpasses and they were pretty much done! We printed them on the same material as the fastpasses.

I’ll make a whole post about the rest of our centerpiece stuff on a later day – but they turned out so cute, right??
And that’s how I made our awesome (if I do say so myself) FastPass inspired escort cards and table numbers! Like I mentioned before, these were such a hit with our guests and honestly didn’t take that much work. It took a lot of googling (sorry to anyone that I may have ripped off in the process of making these lol) and some patience to get things exactly how we wanted – but I am so happy with how they turned out and the finished product. It was the perfect touch of Disney for our wedding without making it into a full blown Disney themed event!
I hope you enjoyed this post, and I have a lot more like this to come! Like I said before we actually ended up making a lot of our own stuff for the wedding, and I look forward to writing about all of those things as well. Check out the rest of my wedding posts if you haven’t already! Thank you for reading 🙂
<3