Welcome back to another DIY wedding post! Last time I wrote about how I made our FastPass inspired table numbers and escort cards. Continuing on the train of paper products, today I’m going to tell you all about how I made most of the signage for our wedding!
Honestly, this was some of the easiest DIY we did for the wedding. Once I was confident in my ability to photoshop some FastPasses, I knew that some simple signage would be super easy. And it was!
First, I made a list of all the signs we would need and what sizes they should all be, and where they would be displayed at the venue. Here’s what I came up with:
- A welcome sign – 16×20
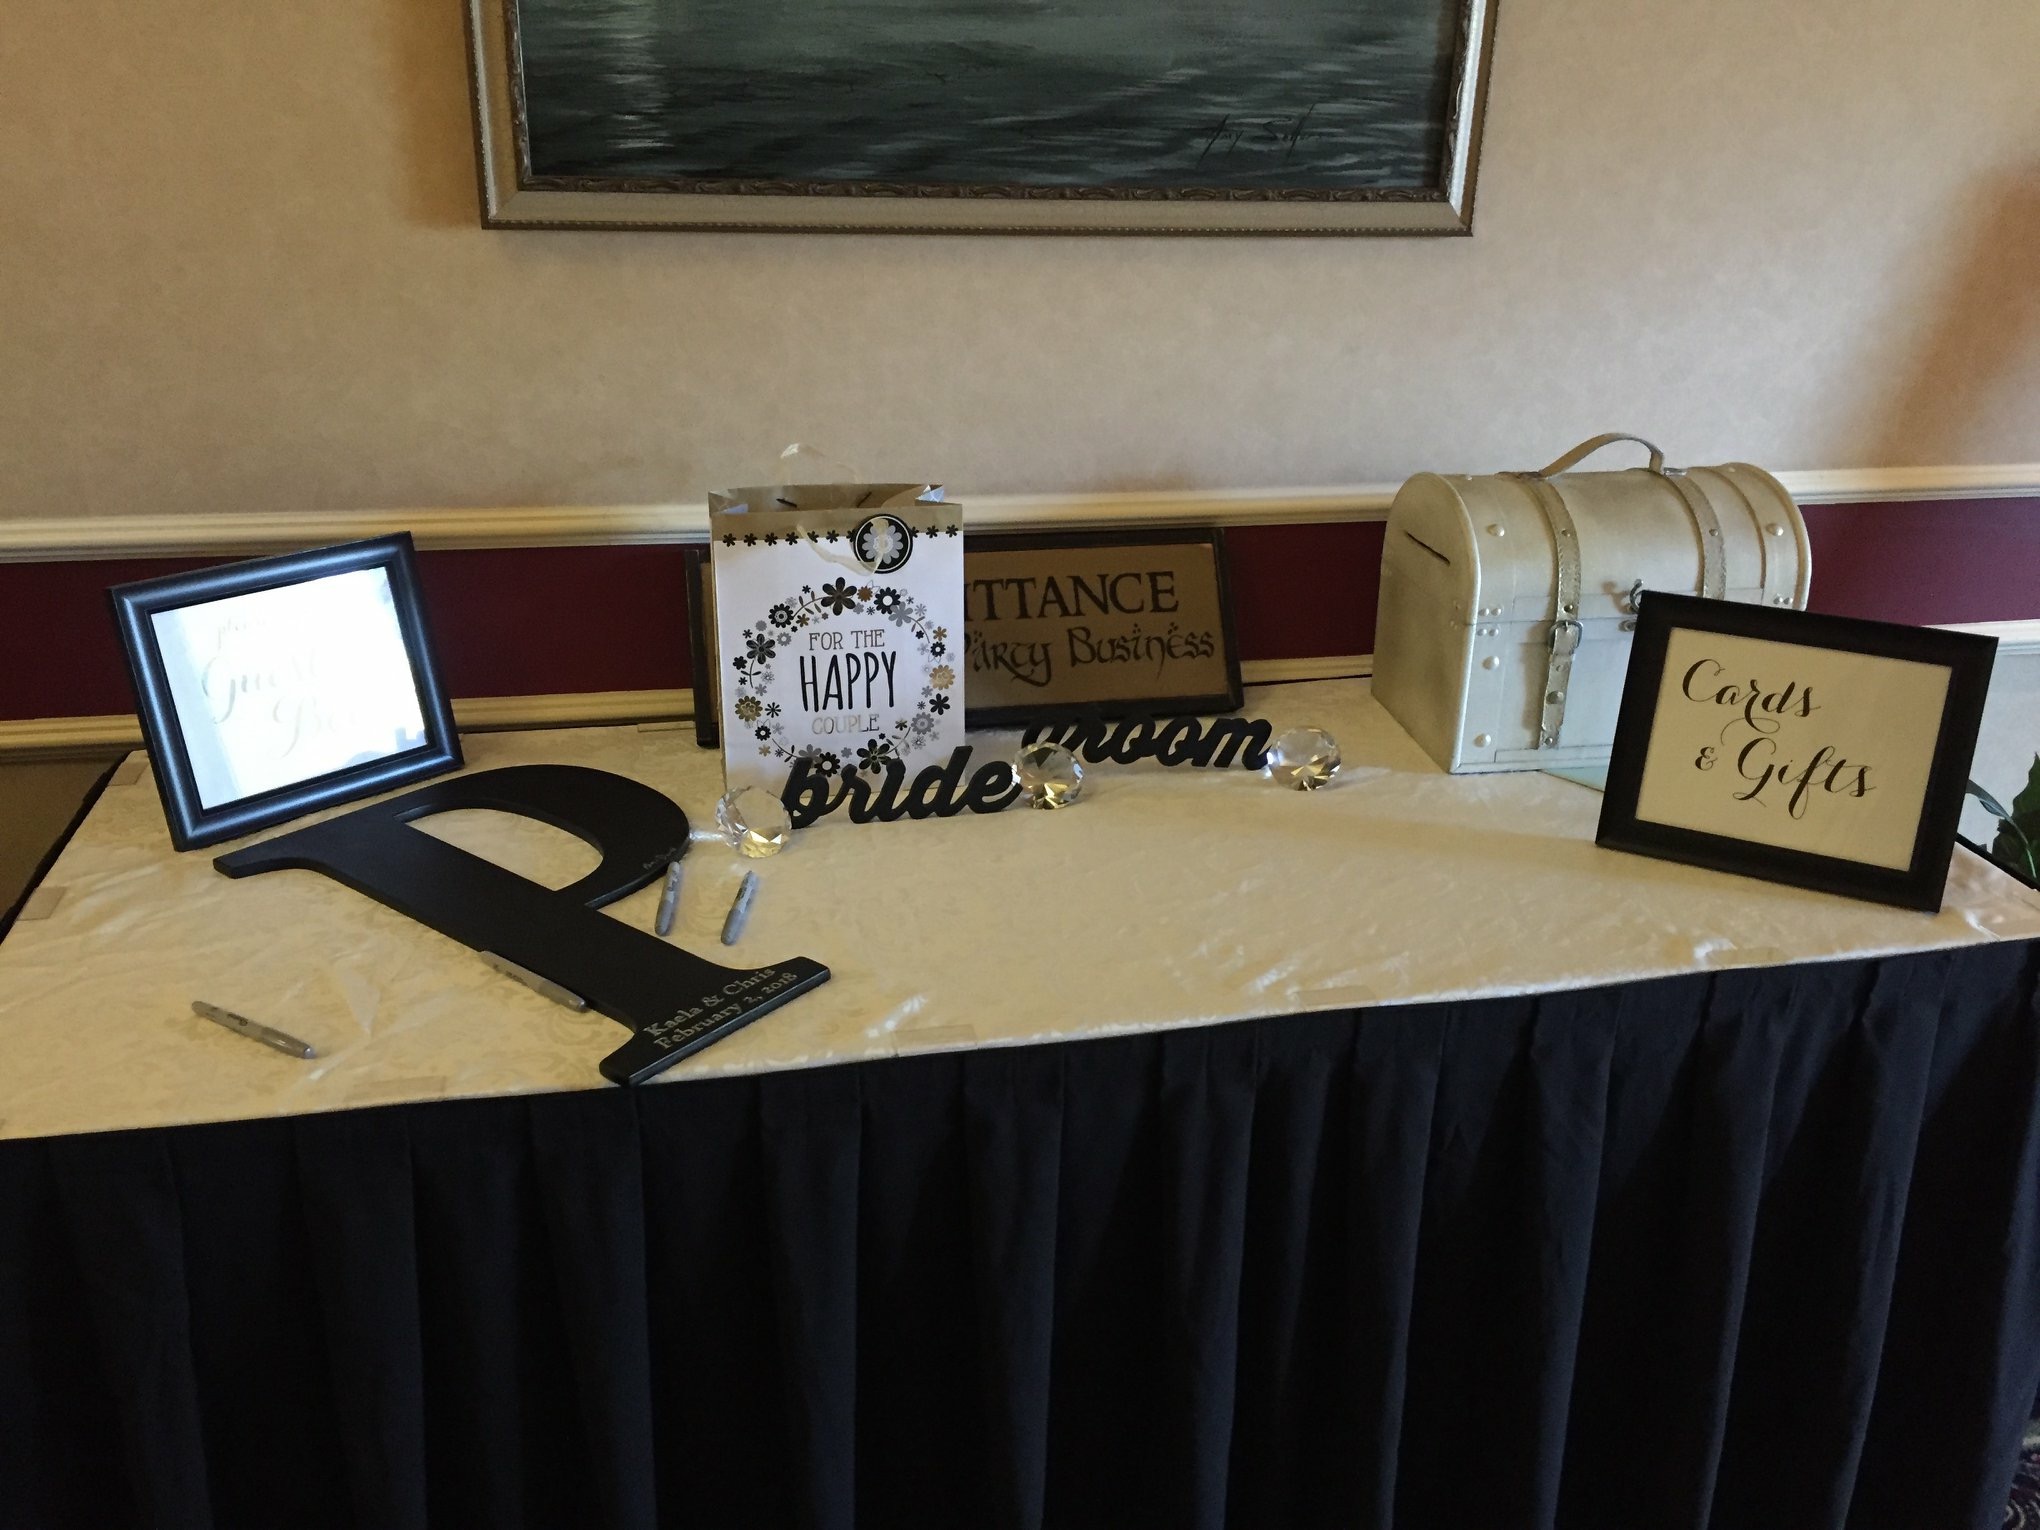
- Please sign our guest book – 8×10
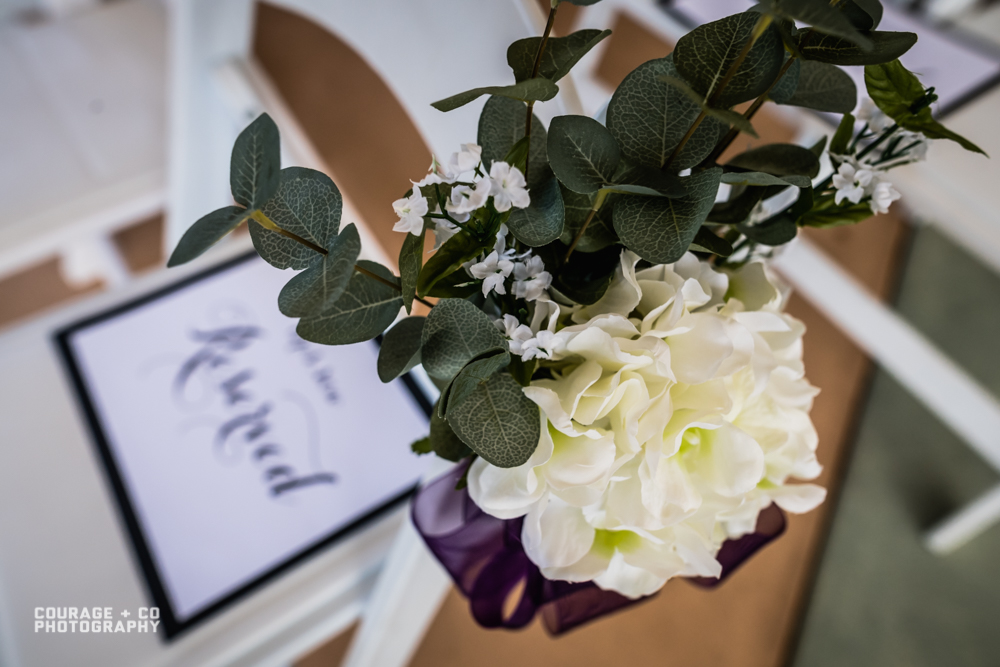
- Cards/gifts – 8×10
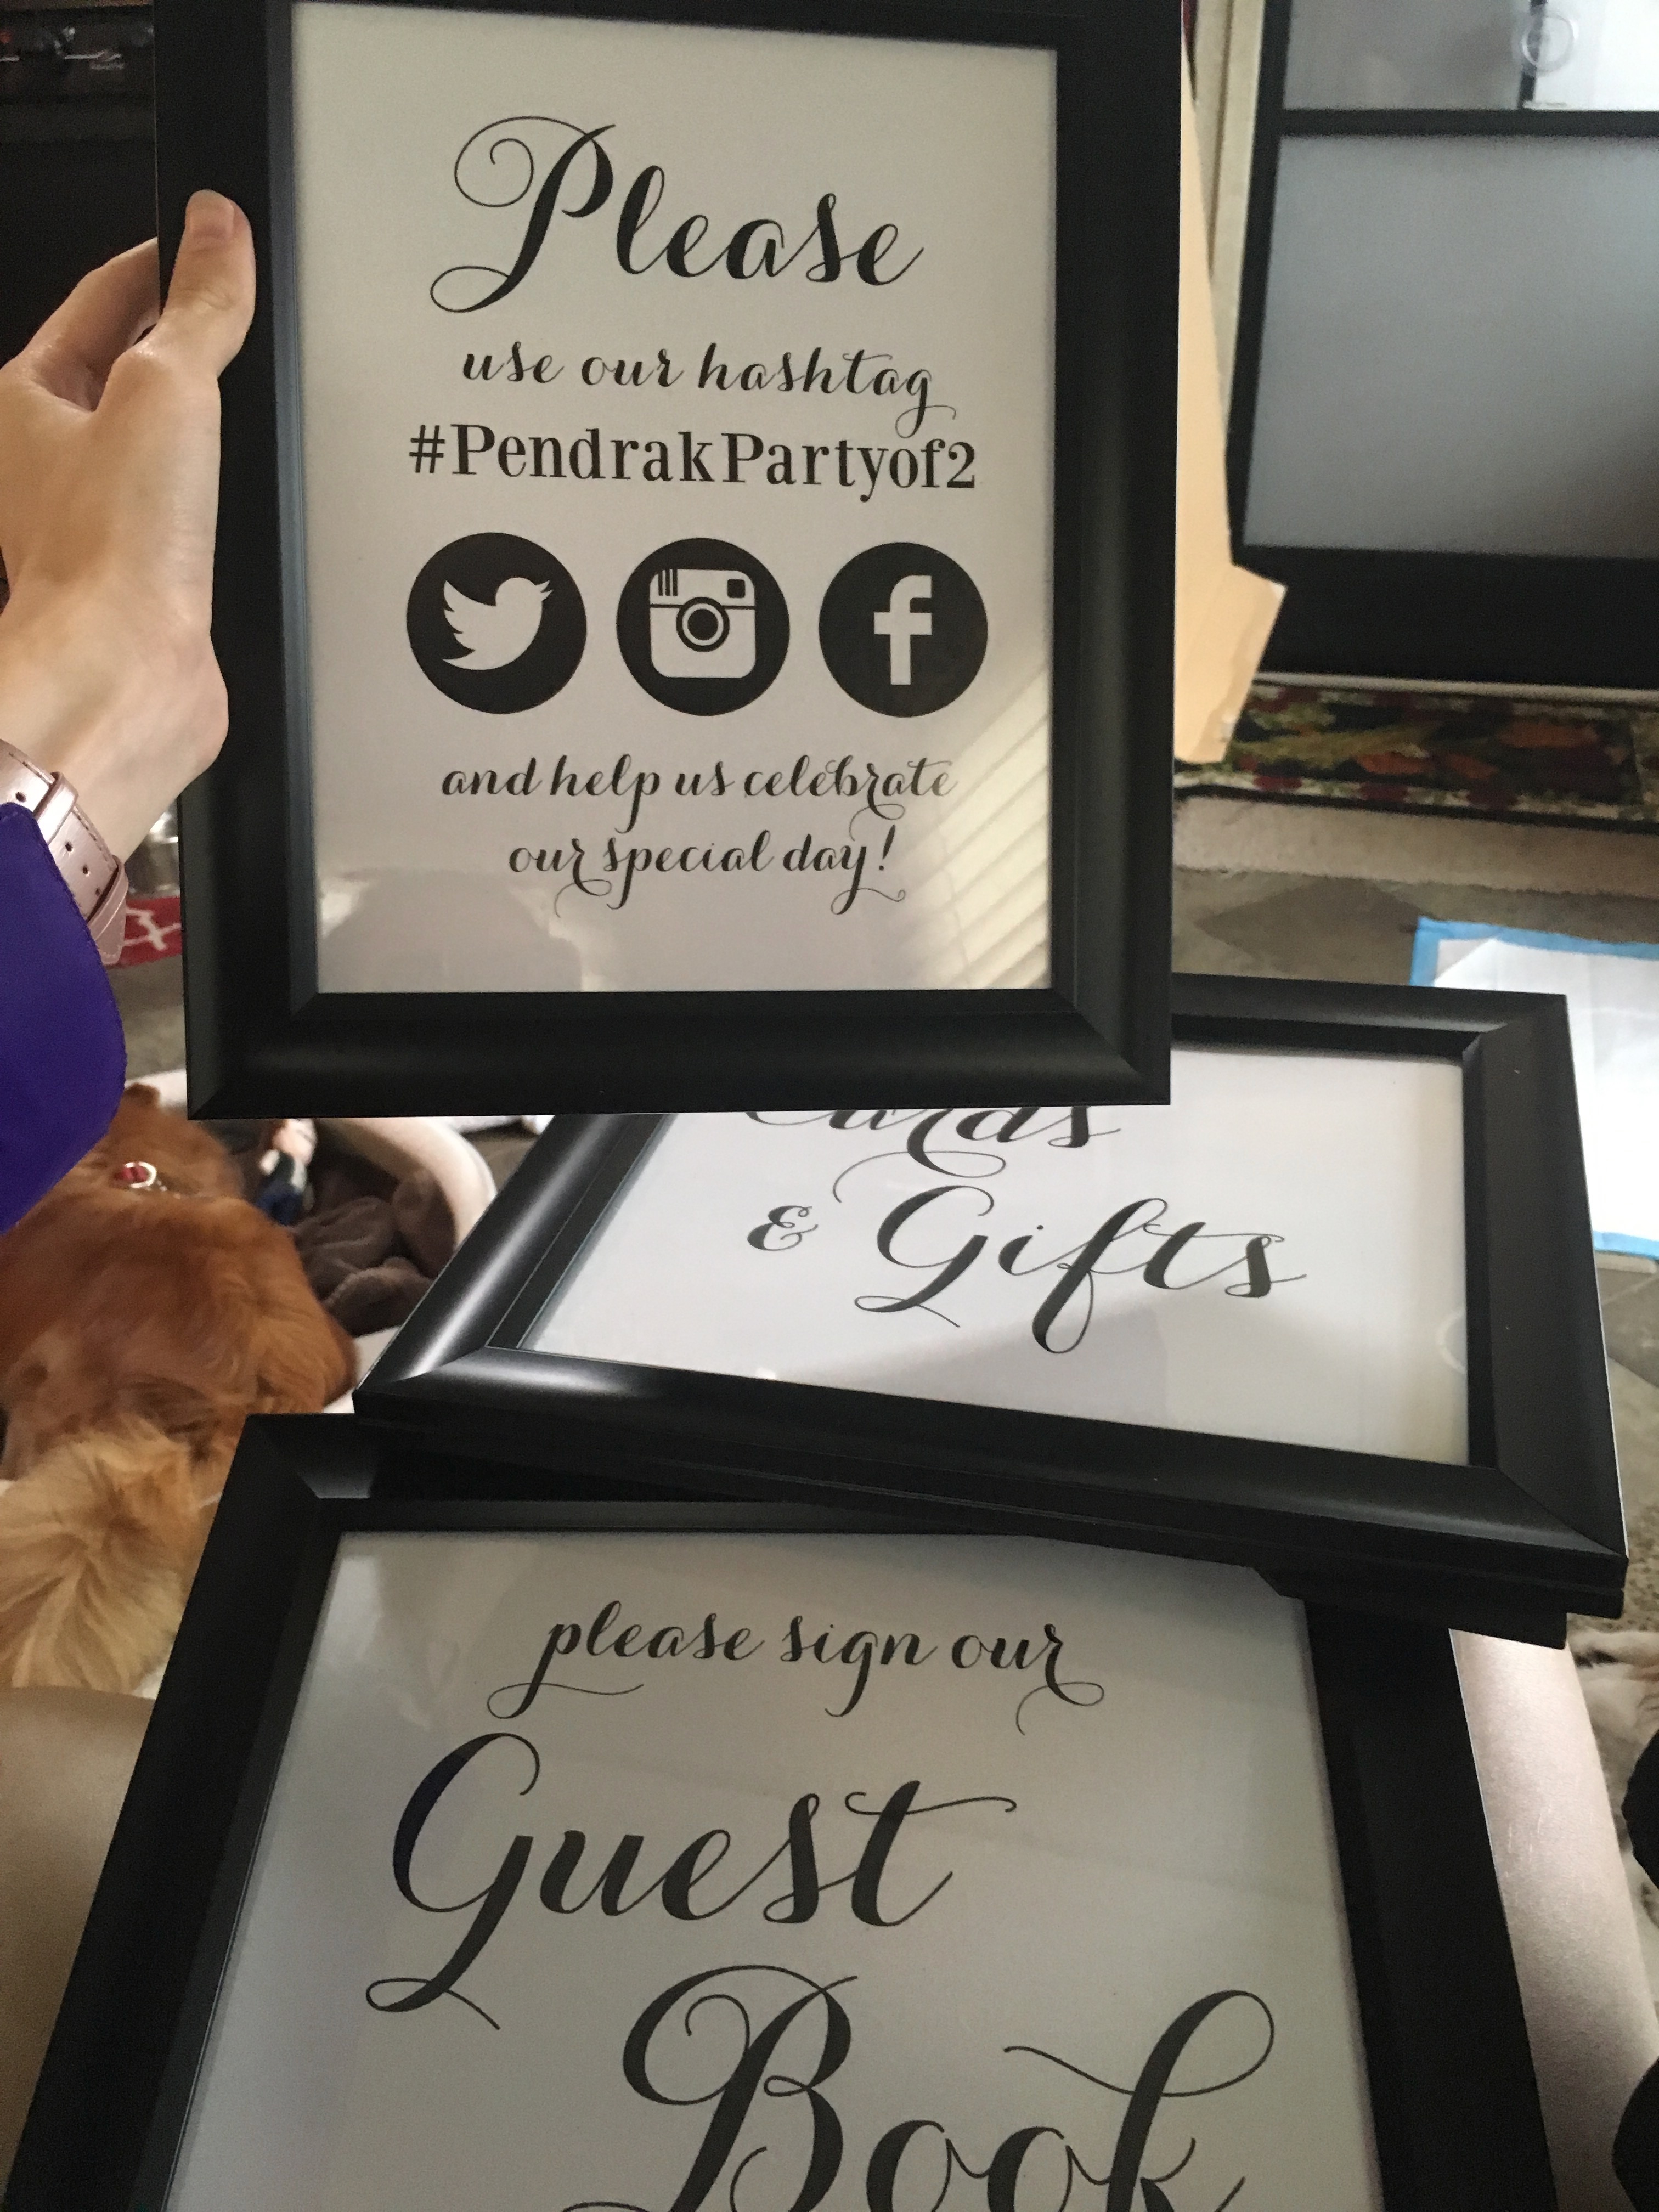
- A sign with our hashtag to go near the photobooth – 8×10
- A photobooth sign – 11×17
- Sparkler send off sign – 8×10
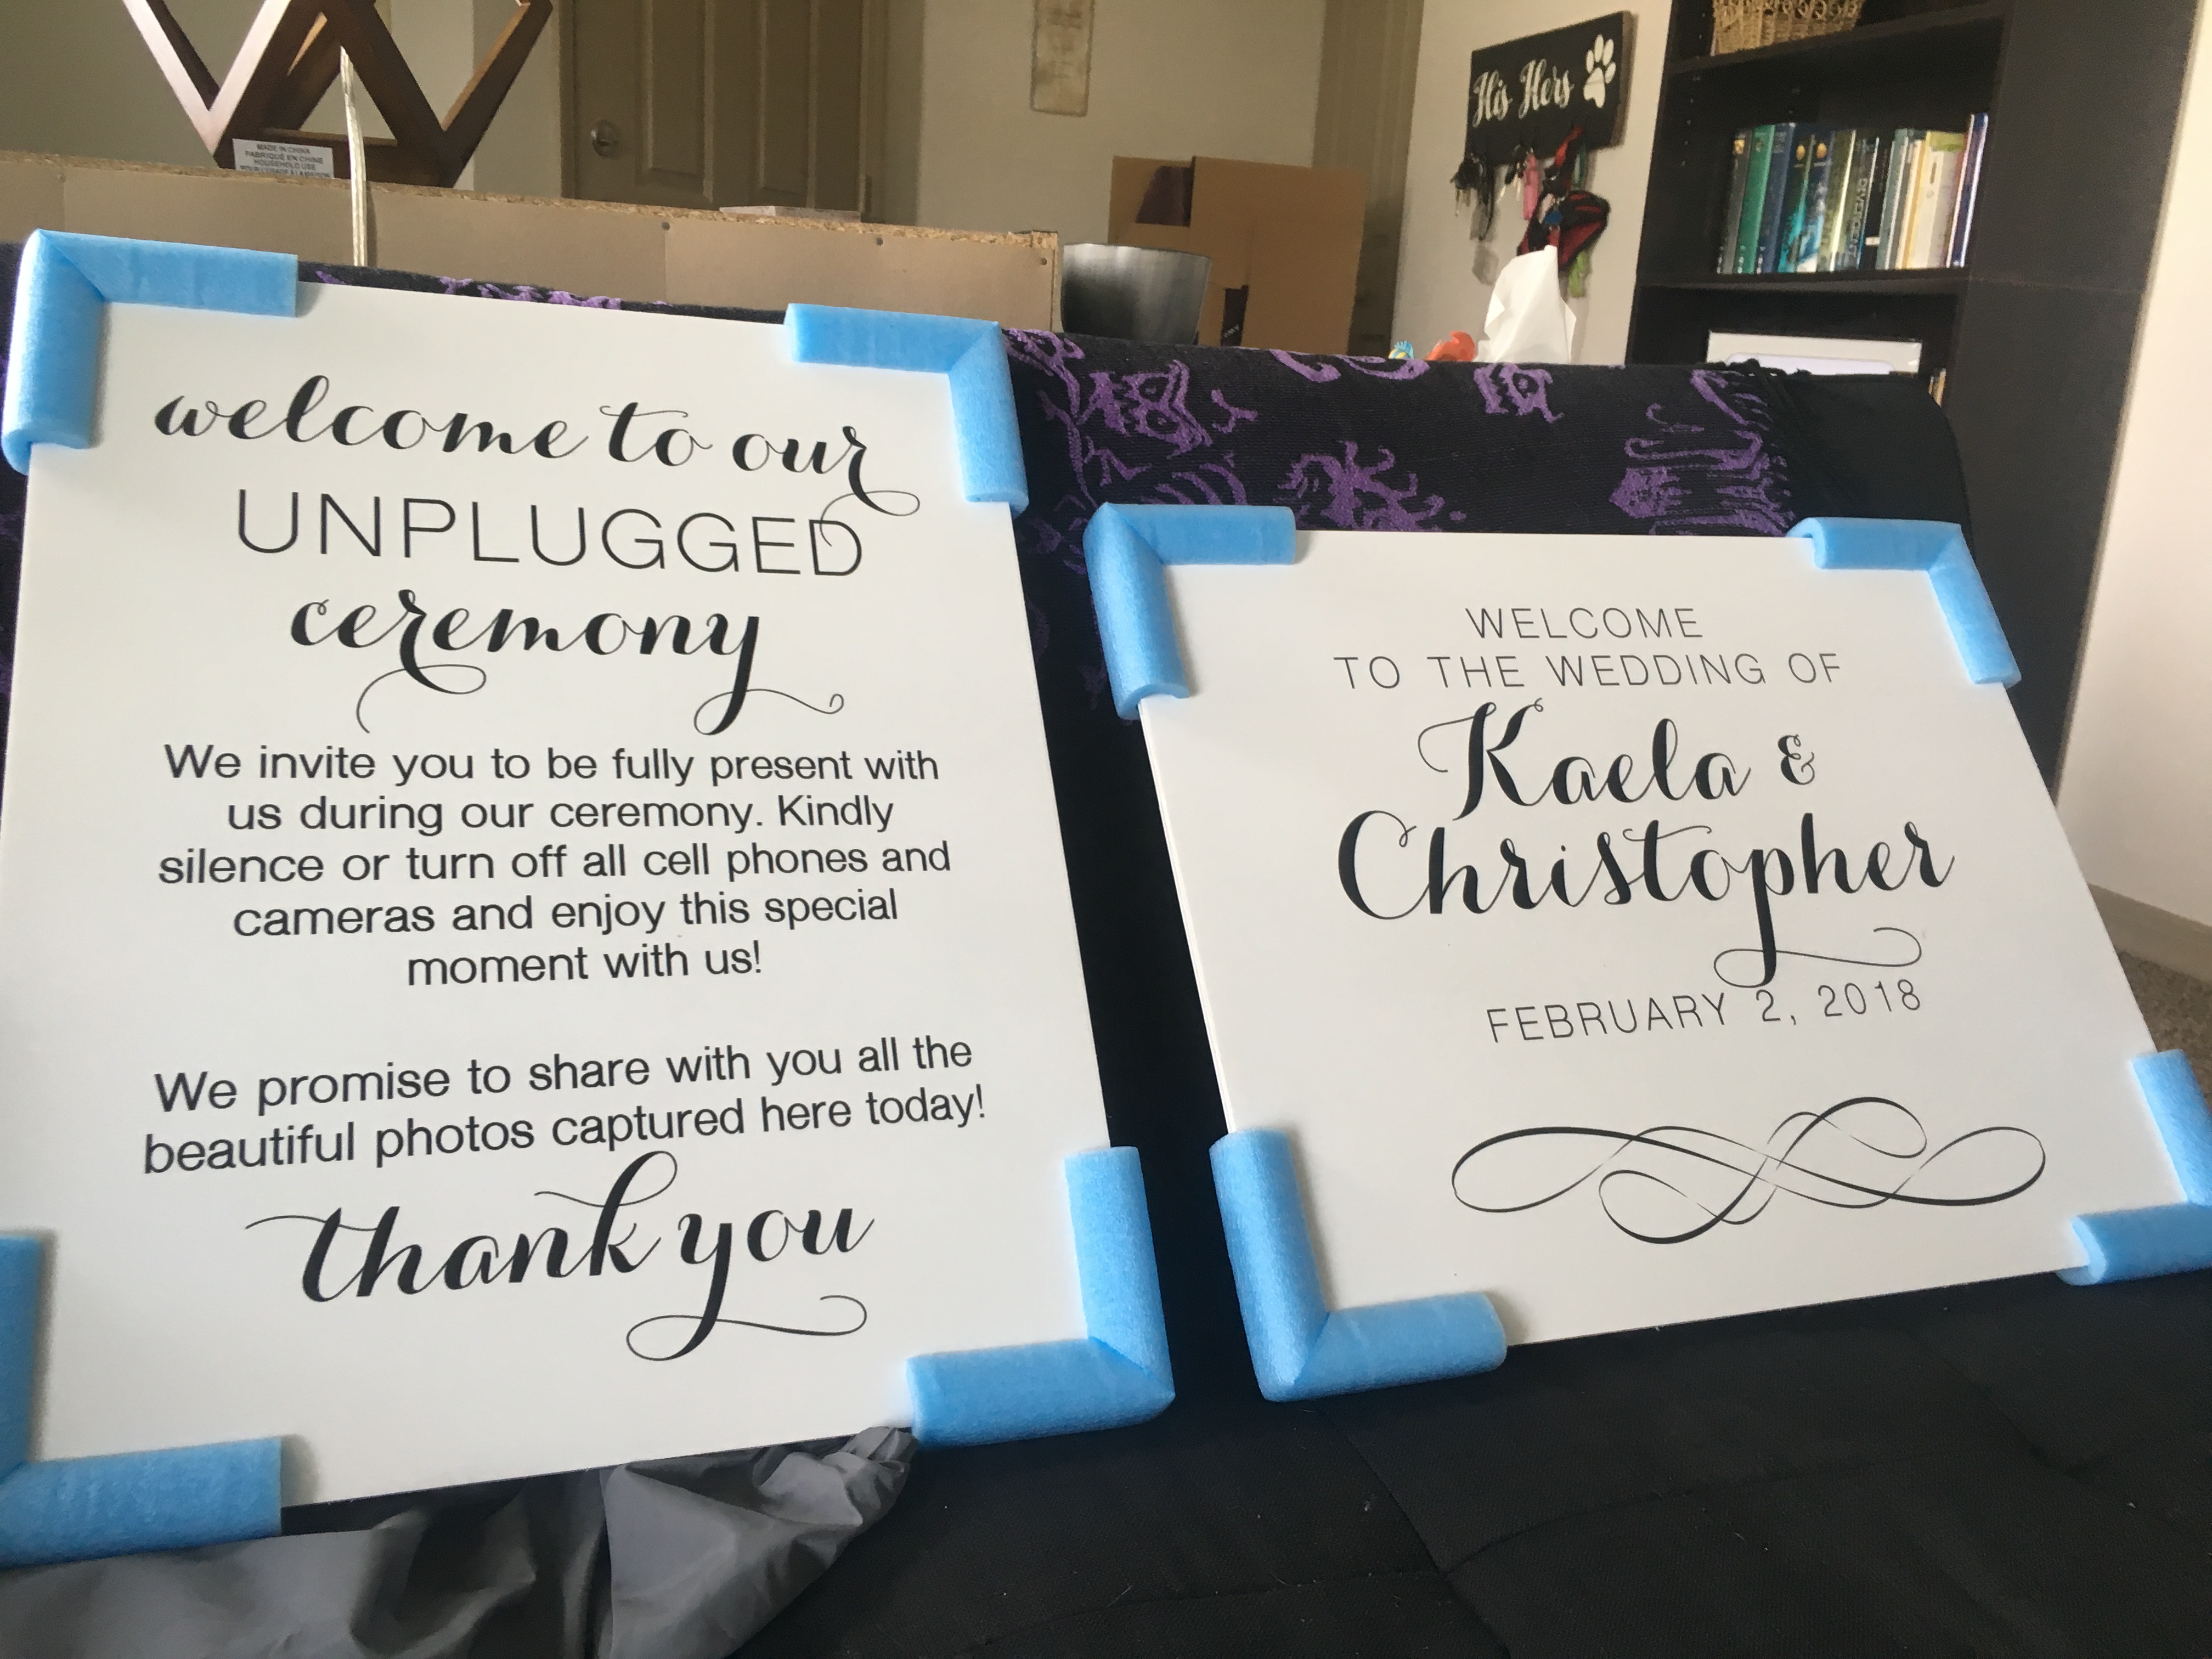
- An “unplugged” sign asking to please put phones away – 16×20
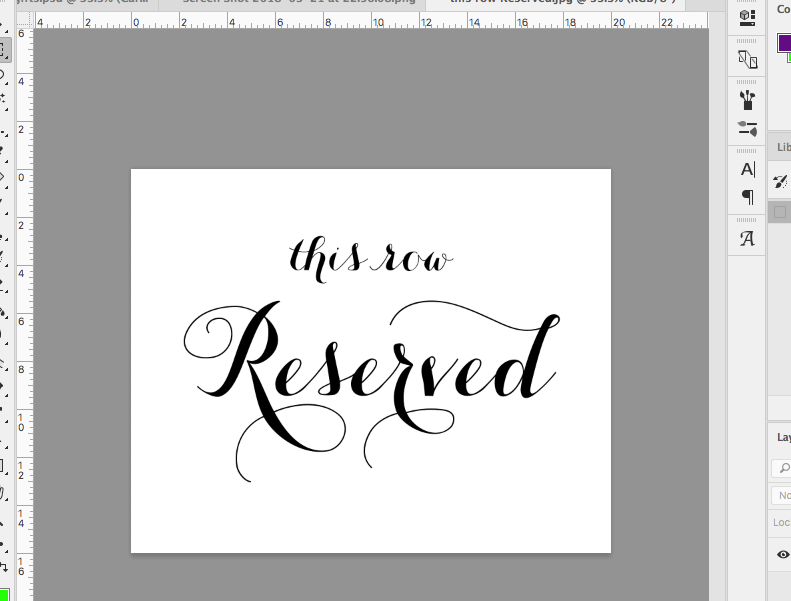
- A few reserved signs for the first row at the ceremony – 8×10
I decided the smaller ones could just be printed on a thick paper and put into photo frames to be displayed on the tables. The larger ones, like the unplugged and the welcome sign, would need to be printed on something more sturdy so they could be displayed on easels we got from our venue. With this in mind I headed to Photoshop.
I started playing around with fonts, wording, and sizes. For all of the signs I made the starting canvas 2-3 times larger than what I would need, so we could size down and keep the image quality up. For the 8×10 signs I started with a 16×20″ canvas.
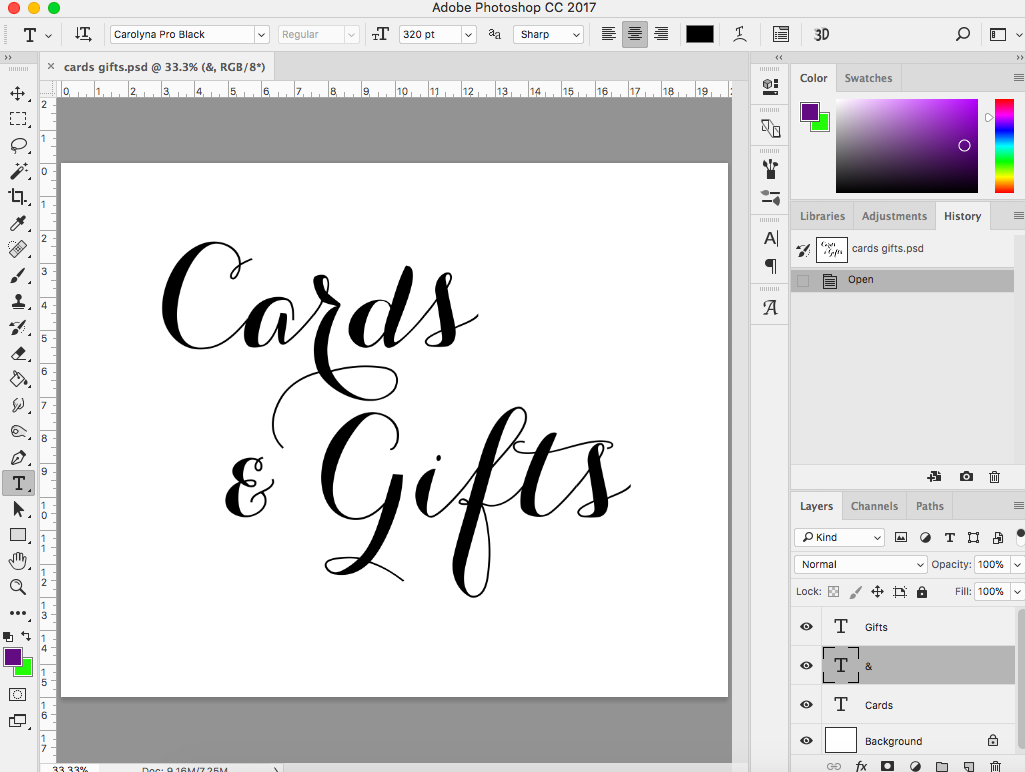
Eventually I ended up with something like this. The font I decided to use is called Carolyna Pro Black, and it’s a really popular one for wedding things – I’ve seen it all over on Pinterest and the like. I really like it because the letters have different decorative touches and you can customize them – for example, in the lowercase letter “r” above, I can choose a bunch of different kinds of flourishes:
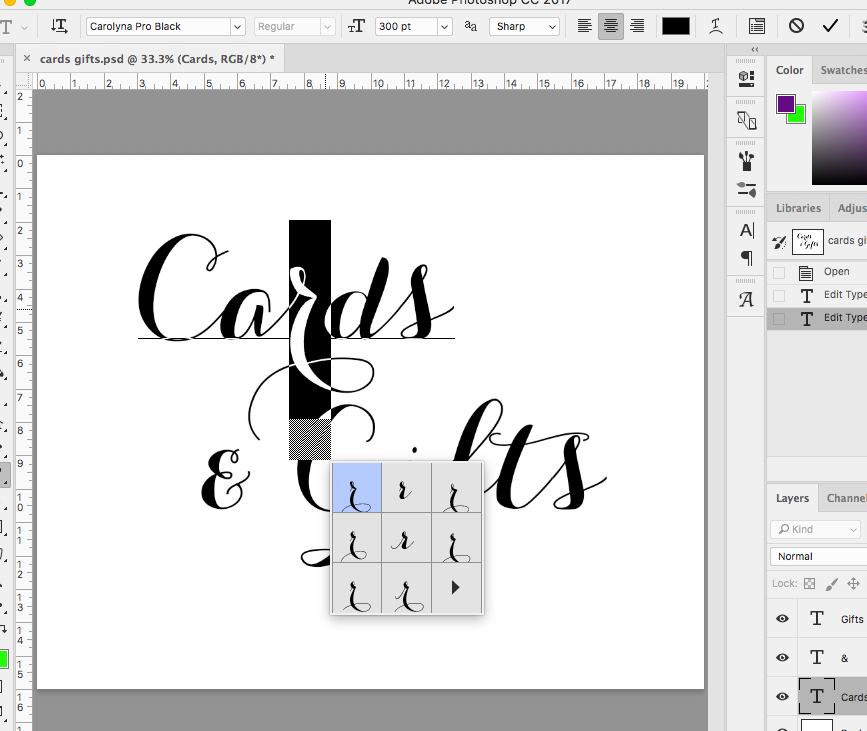
It’s really cool and makes it easy to customize everything. The font was difficult to identify and then find a free version to download, but google served me well and I eventually got it.
Once I figured out what font I was using it was pretty easy to make the individual signs from there – most of them were pretty straightforward. I played around a bit with the phrasing and word spacing for each one until it was just the way I wanted.
A few required a little more effort – here’s our sign asking people to use our hashtag:
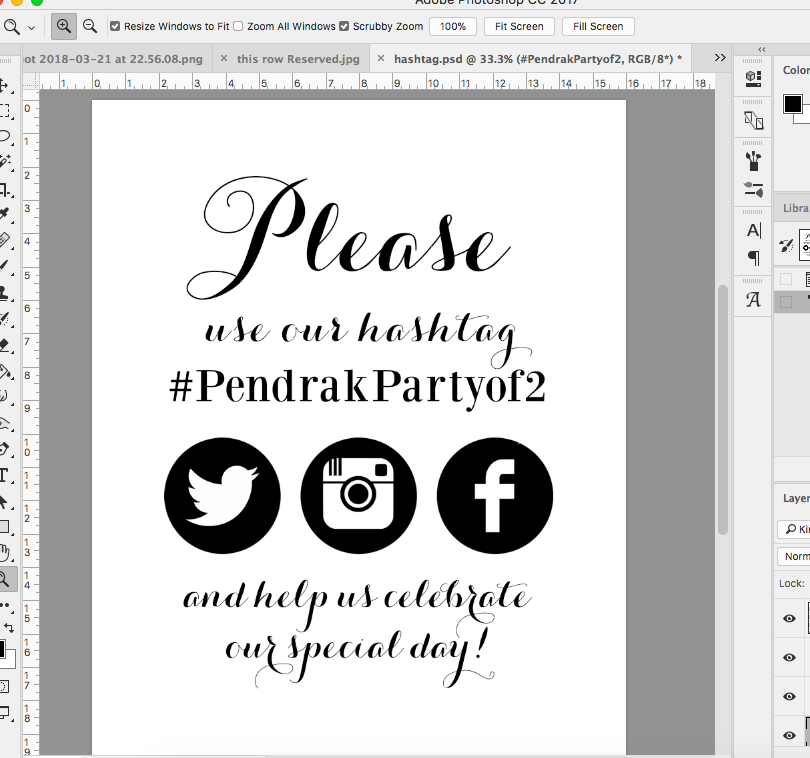
I mixed some fonts on this one because I wanted our hashtag to be easy to read and stand out a little bit. The font for this one is Bodoni XT and was also one of the fonts I used in our programs. As for the little social icons, it was super easy to find lots of options just by googling “facebook logo icon” and similar. I found the ones I liked and just placed them on top of three identical black circles. The ruler tool on Photoshop really helped to make sure everything was lined up properly! I was really happy with how this one turned out.
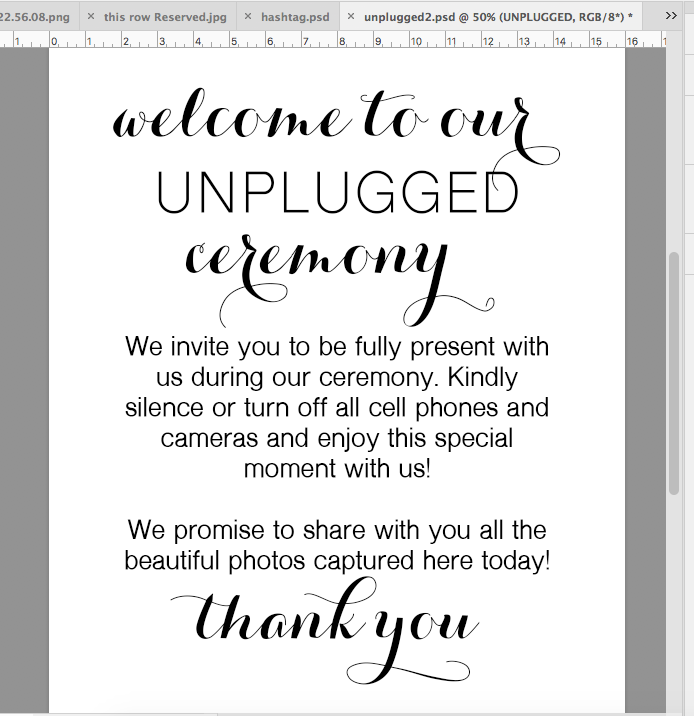
For our “unplugged” sign, I started with a canvas that was 32×40″. Like the hashtag sign, I wanted the words to be easy to read so I chose a simple sans serif font called Shree Devanagari 714. For the wording I basically just searched for “unplugged wedding sign” and copied what I found there. Super easy!
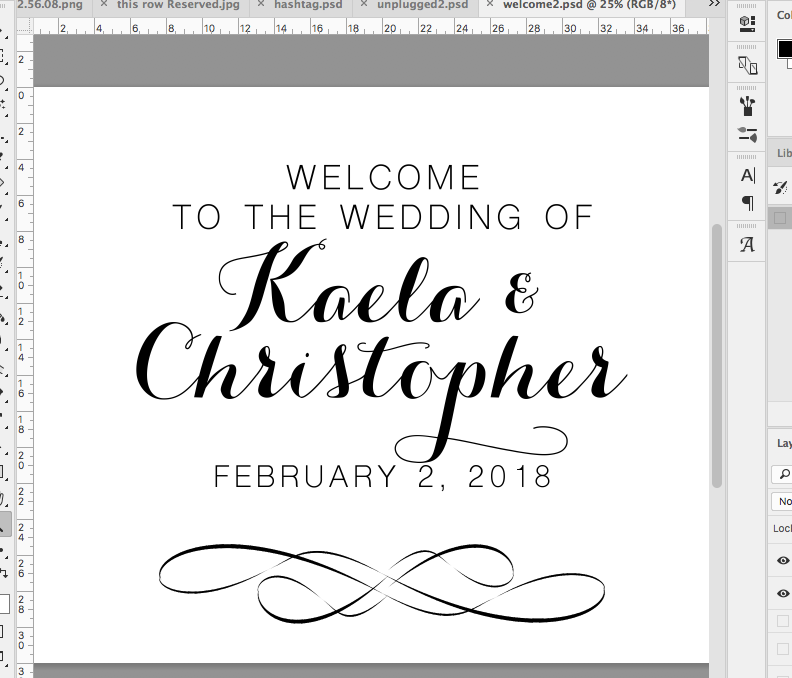
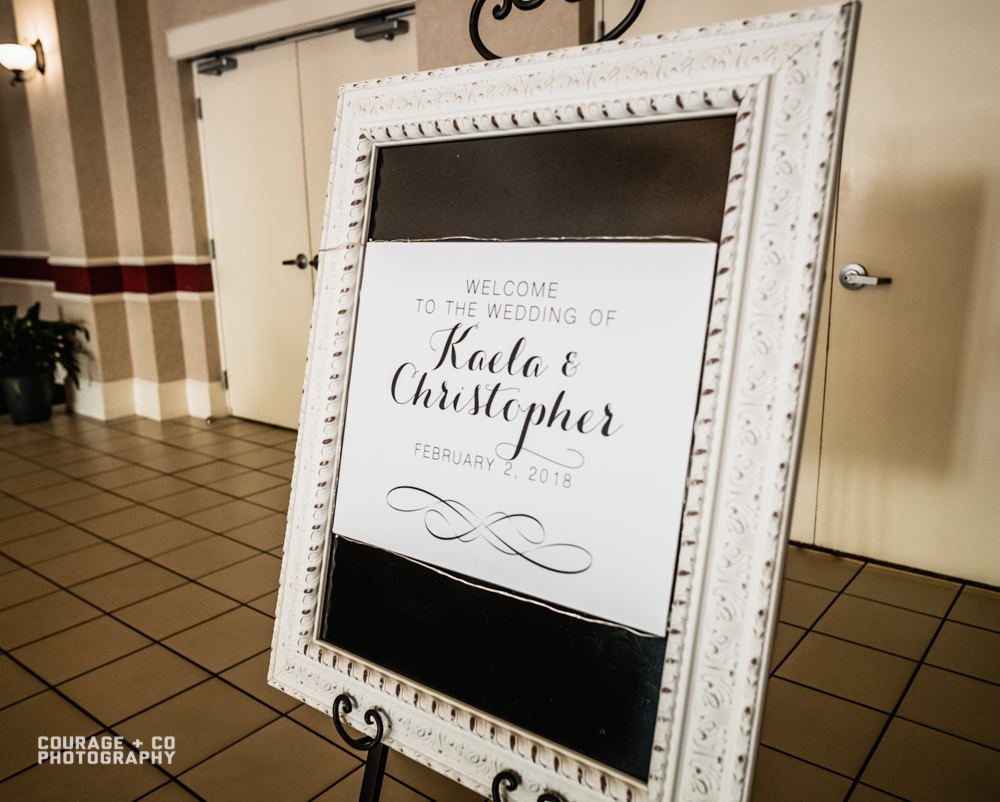
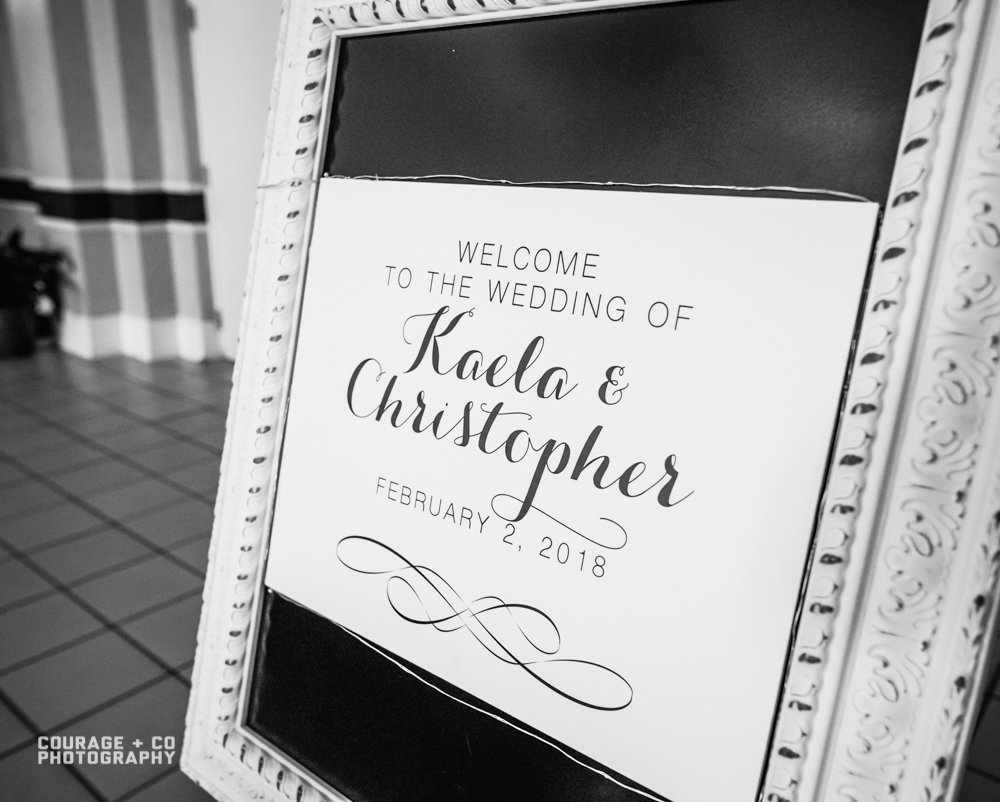
Finally for our welcome sign, I started with the same canvas size of 32×40 and the same fonts as above. It was a little plain at first, so I searched for some kind of flourish clipart and found this one on the ol’ googler. Seriously, this was almost too easy!!
So once everything was designed it was time to print all of it! We printed the smaller ones on a thin cardstock, but for the larger ones we had to outsource…
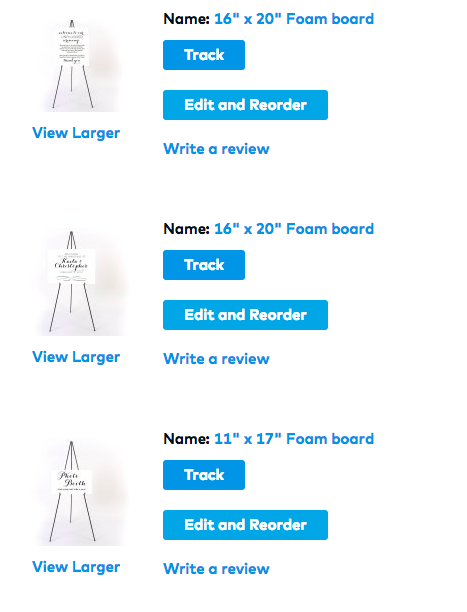
So we headed to Vistaprint! We also used them to print our save the date postcards and they had great prices for printing foam board signs. We ordered the unplugged and welcome signs printed on 16×20″ boards and the photobooth sign on 11×17″…as you can see from the image above lol but they were really reasonably priced – the entire order was only $40!
They arrived quickly and looked perfect! I loved the little blue corner bumpers to make sure they arrived safely.
For the smaller ones, as I mentioned before we just printed them and used black photo frames to display them on the tables.
My mom got a great deal on the frames at Michael’s and they turned out great!
I was so happy with how everything turned out. They looked beautiful on our wedding day and really required so little work – it was so nice to just get something done quickly and not have to worry about it when we were so stressed about everything else!
Our welcome sign was my favorite though. We put it in a frame from the venue and surrounded it by tiny little twinkly lights and it looked so beautiful!

And here’s a fun fact…when arriving at the venue that day, Chris said he was doing fine until he saw this sign with our names on it, and he started crying 😭 this sign is now on display in our bedroom and I love it so much!
And that’s how I made our wedding signs!! It was seriously so easy…after so many difficult tasks it was nice to have something simple, inexpensive, and relatively low stress checked off the list 🙂 I hope you enjoyed this post and always thank you for reading! Professional photos in this post as always from our fabulous Jake at Courage & Co Photography. Stay tuned for more DIYs and don’t forget to check out the rest of my wedding posts!
<3