Surprise surprise it’s another wedding post today! I know there have been a LOT lately (aka it’s pretty much all I’ve been writing about) but I really want to finish up most of my DIY posts before I get on to the next huge and exciting blog project which will be our honeymoon! Today I’m talking all about our centerpieces. This post should actually be pretty straightforward because our centerpieces were actually one of the easiest things to put together… once we had an idea and all the necessary pieces.
So here’s how it went. We had been floating around ideas as far as what we wanted pretty much since we picked our venue. They had a LOT of supplies for centerpieces and let us know that we could use anything we wanted, so we had a lot to work with. The problem was, we didn’t really have any ideas. We toyed with the idea of doing something with water beads and floating candles or something…but nothing was really getting us too excited. To be honest, centerpieces were not high on our list of importance so we really weren’t looking for anything crazy fancy or extravagant. So I did what I always do in times of needing inspiration – I googled.
Somewhere along the way we came up with the idea of lanterns, and I found this to use as a sort of inspiration image:
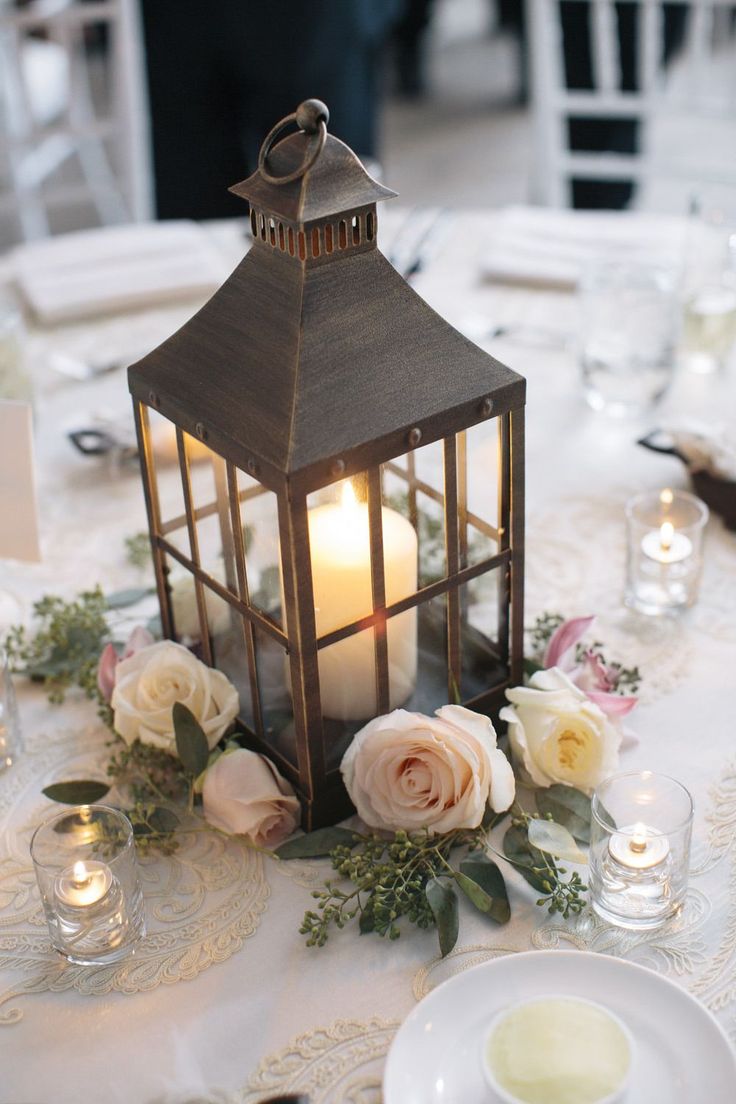
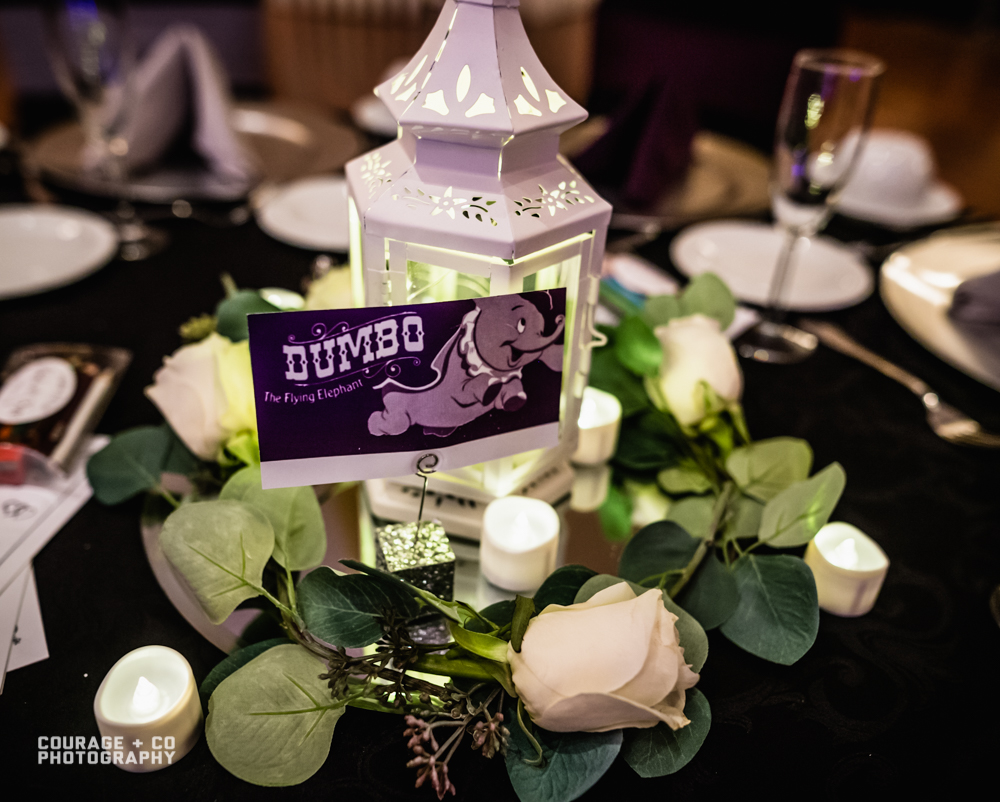
This seemed to be easy enough to recreate, and it’s really pretty too. Plus, Chris and I had already purchased a cute special Disney lantern for our head table, so it would be nice to keep that theme woven throughout by using lanterns on all the tables.

So this seemed like it could be pretty simple now that we had a rough idea of what we were trying to recreate. Our supply list was as follows:
- Lanterns
- Table numbers and something to hold them
- Some kind of lights to go inside
- Candles or other cutesy lights to go around on the outside
- Roses or other flowers to go around the edges
We also toyed with the idea of using rose petals or something on the table too, but nixed it because it seemed to be more work than it was worth. So we were left with this (short) list! Easy. Right? The answer is…sort of. We’ll take it step by step here:
Lanterns
The lanterns actually required a lot of searching. Most of the ones we could find for reasonable prices were really tiny and meant to be hung on a hook of some kind, which obviously wouldn’t work for our purposes. My mom looked online and in stores for the perfect fit and finally discovered the perfect ones on ebay!
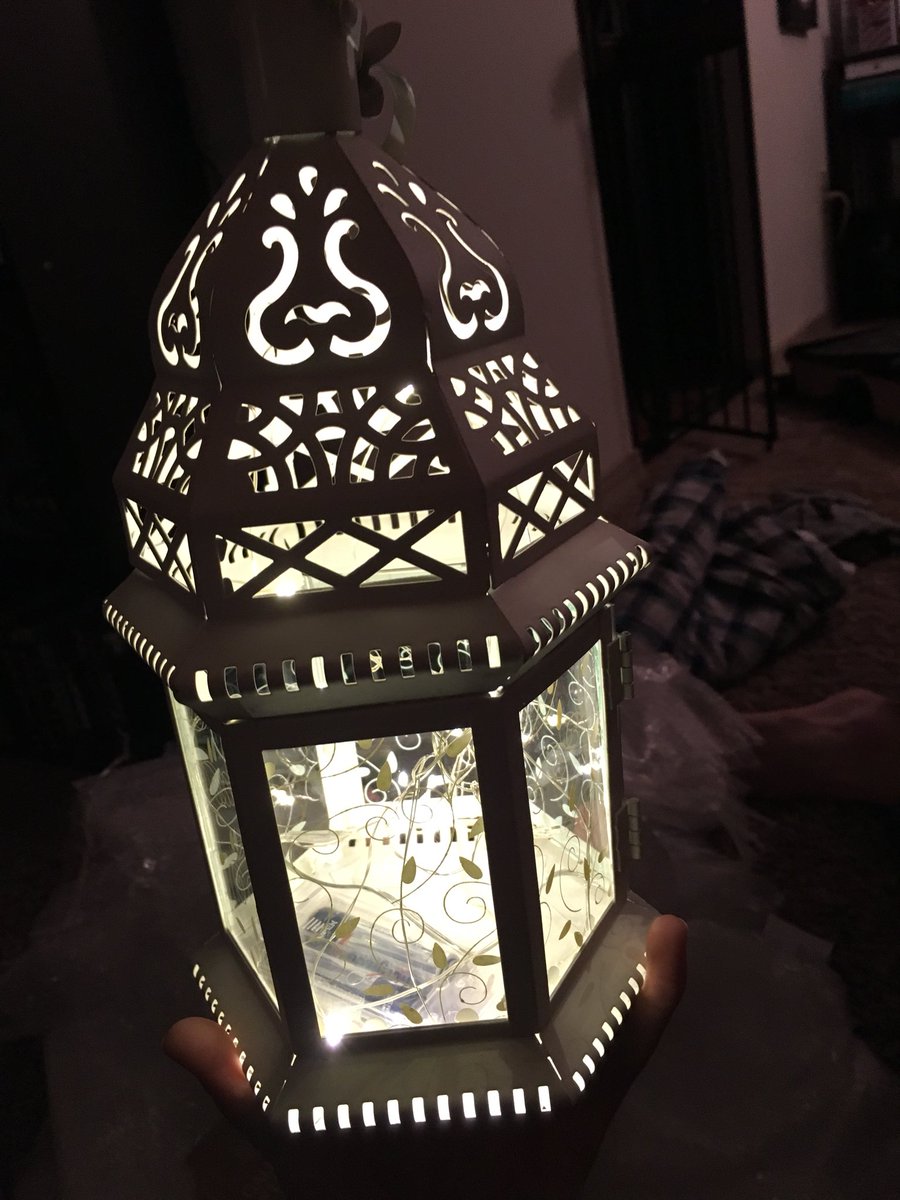
We actually got them in two different varieties to mix it up a bit between tables. They were about 12″ tall, which was just about what we needed. We got 15 (1 set of 5 and 1 set of 10) for about $160 total which works out to be around $11 per lantern – a great price!! They looked really great and were exactly what we wanted. It appears the exact ones we ordered are no longer available but this is the seller we ordered from. Another cool thing about these lanterns: we also have the option of reselling them to someone else now that the wedding is over!
Table Numbers/Holders
You may have already read about how I made our FastPass inspired table numbers, but if you haven’t, you can check it out right here.
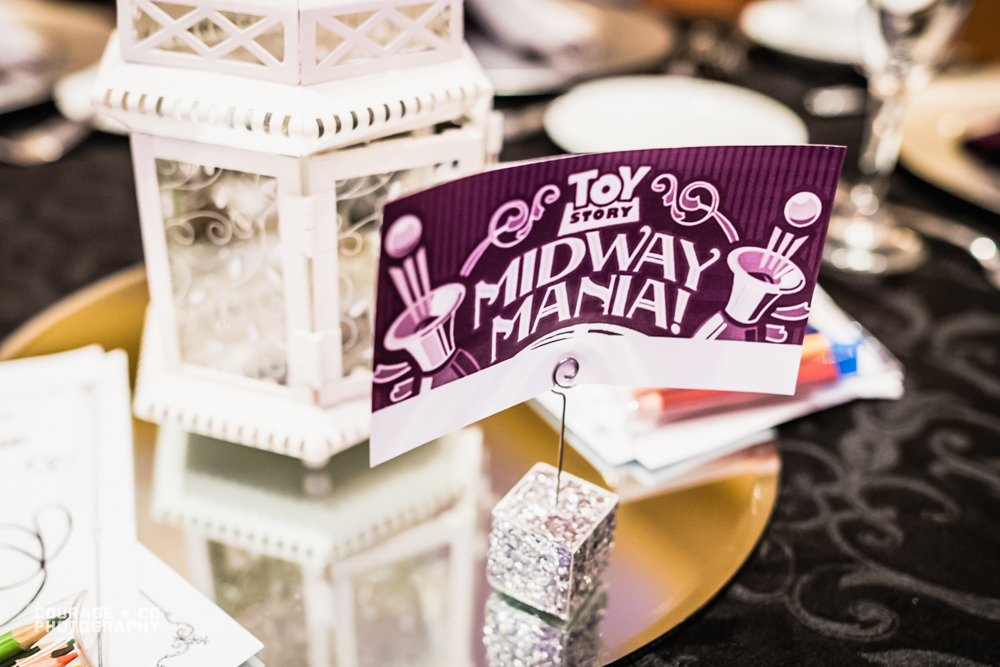
I am still so obsessed with how these turned out. They were such a hit with our guests! Obviously we needed something to hold those table markers up, and again – I really wasn’t very picky here. I wanted something simple and cute that wouldn’t overshadow the table markers. And as you have probably already gathered if you have seen any photos of my wedding dress, I love sparkly things. So these little sparkly cubes were an easy choice. We got ours from Target in a pack of 12 (we had 12 tables, which made it easy) but I know I saw these elsewhere online as well!
Lanterns and table numbers are looking great during this pre-wedding set up photo!!
Inside Lantern Lights
Once we had our lanterns I started looking for something to go inside to light them up. At first I thought we would just use tea lights, but it looked weird and empty inside and I wasn’t really a fan. I actually found the perfect solution at Target in the dollar spot! There I found these little boxes of battery powered string lights, a strand of 10 or so, for about $3 each. They were especially on hand around Christmas time which is when we were shopping – so convenient. We just kind of scrunched them up and put them inside each of the lanterns.
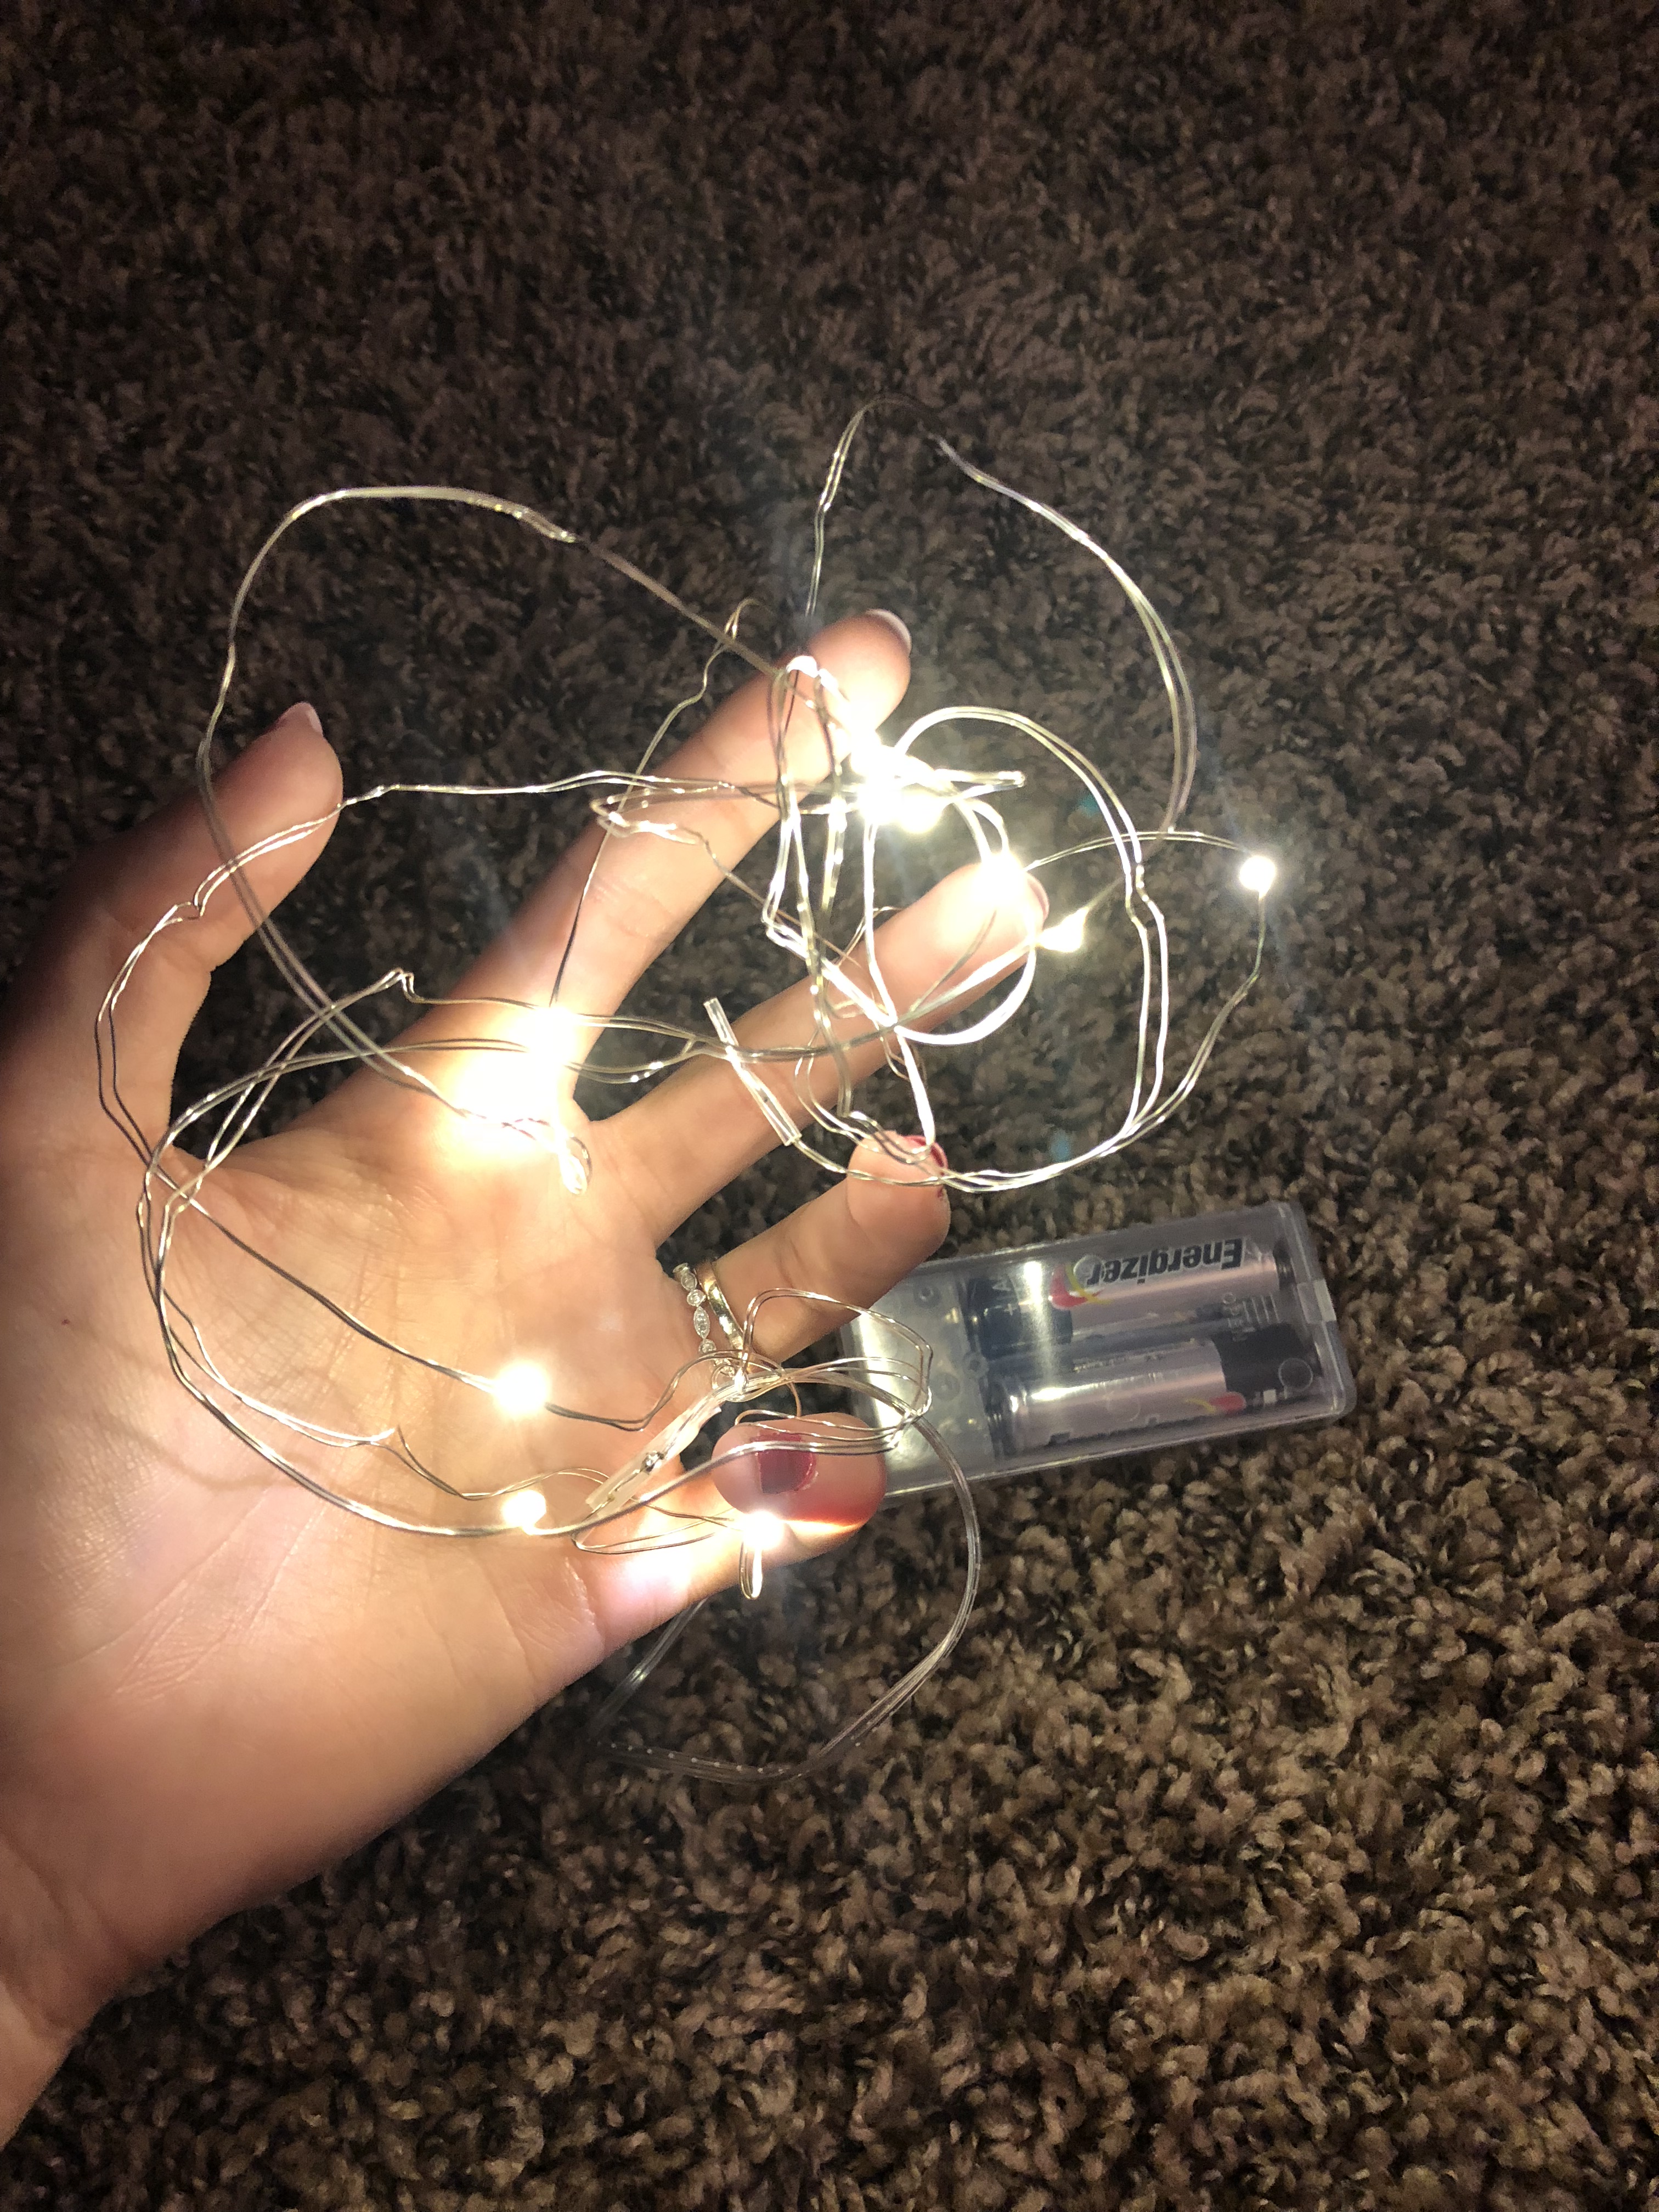
They were perfect for our purposes and super cheap! I bought a few boxes every time we went to Target and I think we ended up with about 15 boxes. We used the extras to decorate other parts of the reception and they actually look super cute around the house now post-wedding as well 🙂 Just make sure if you buy these that all the boxes are the right color – apparently they also sell colored lights in boxes that look identical to the white ones and we ended up returning a few when I grabbed them without looking!
Outside Lantern Lights
Almost done here! We also had to look for some tea lights to go around the outside. Our venue didn’t allow any candles, so we looked for a flameless alternative and found some LED tea lights. My mom looked high and low for exactly what we wanted – there are TONS of options but we ended up with two different varieties, both from Amazon. They were the cheapest options we found (and a lot of websites appeared to have the exact same things for more money) and were also way cheaper than any we found in stores like Michael’s or Joann.
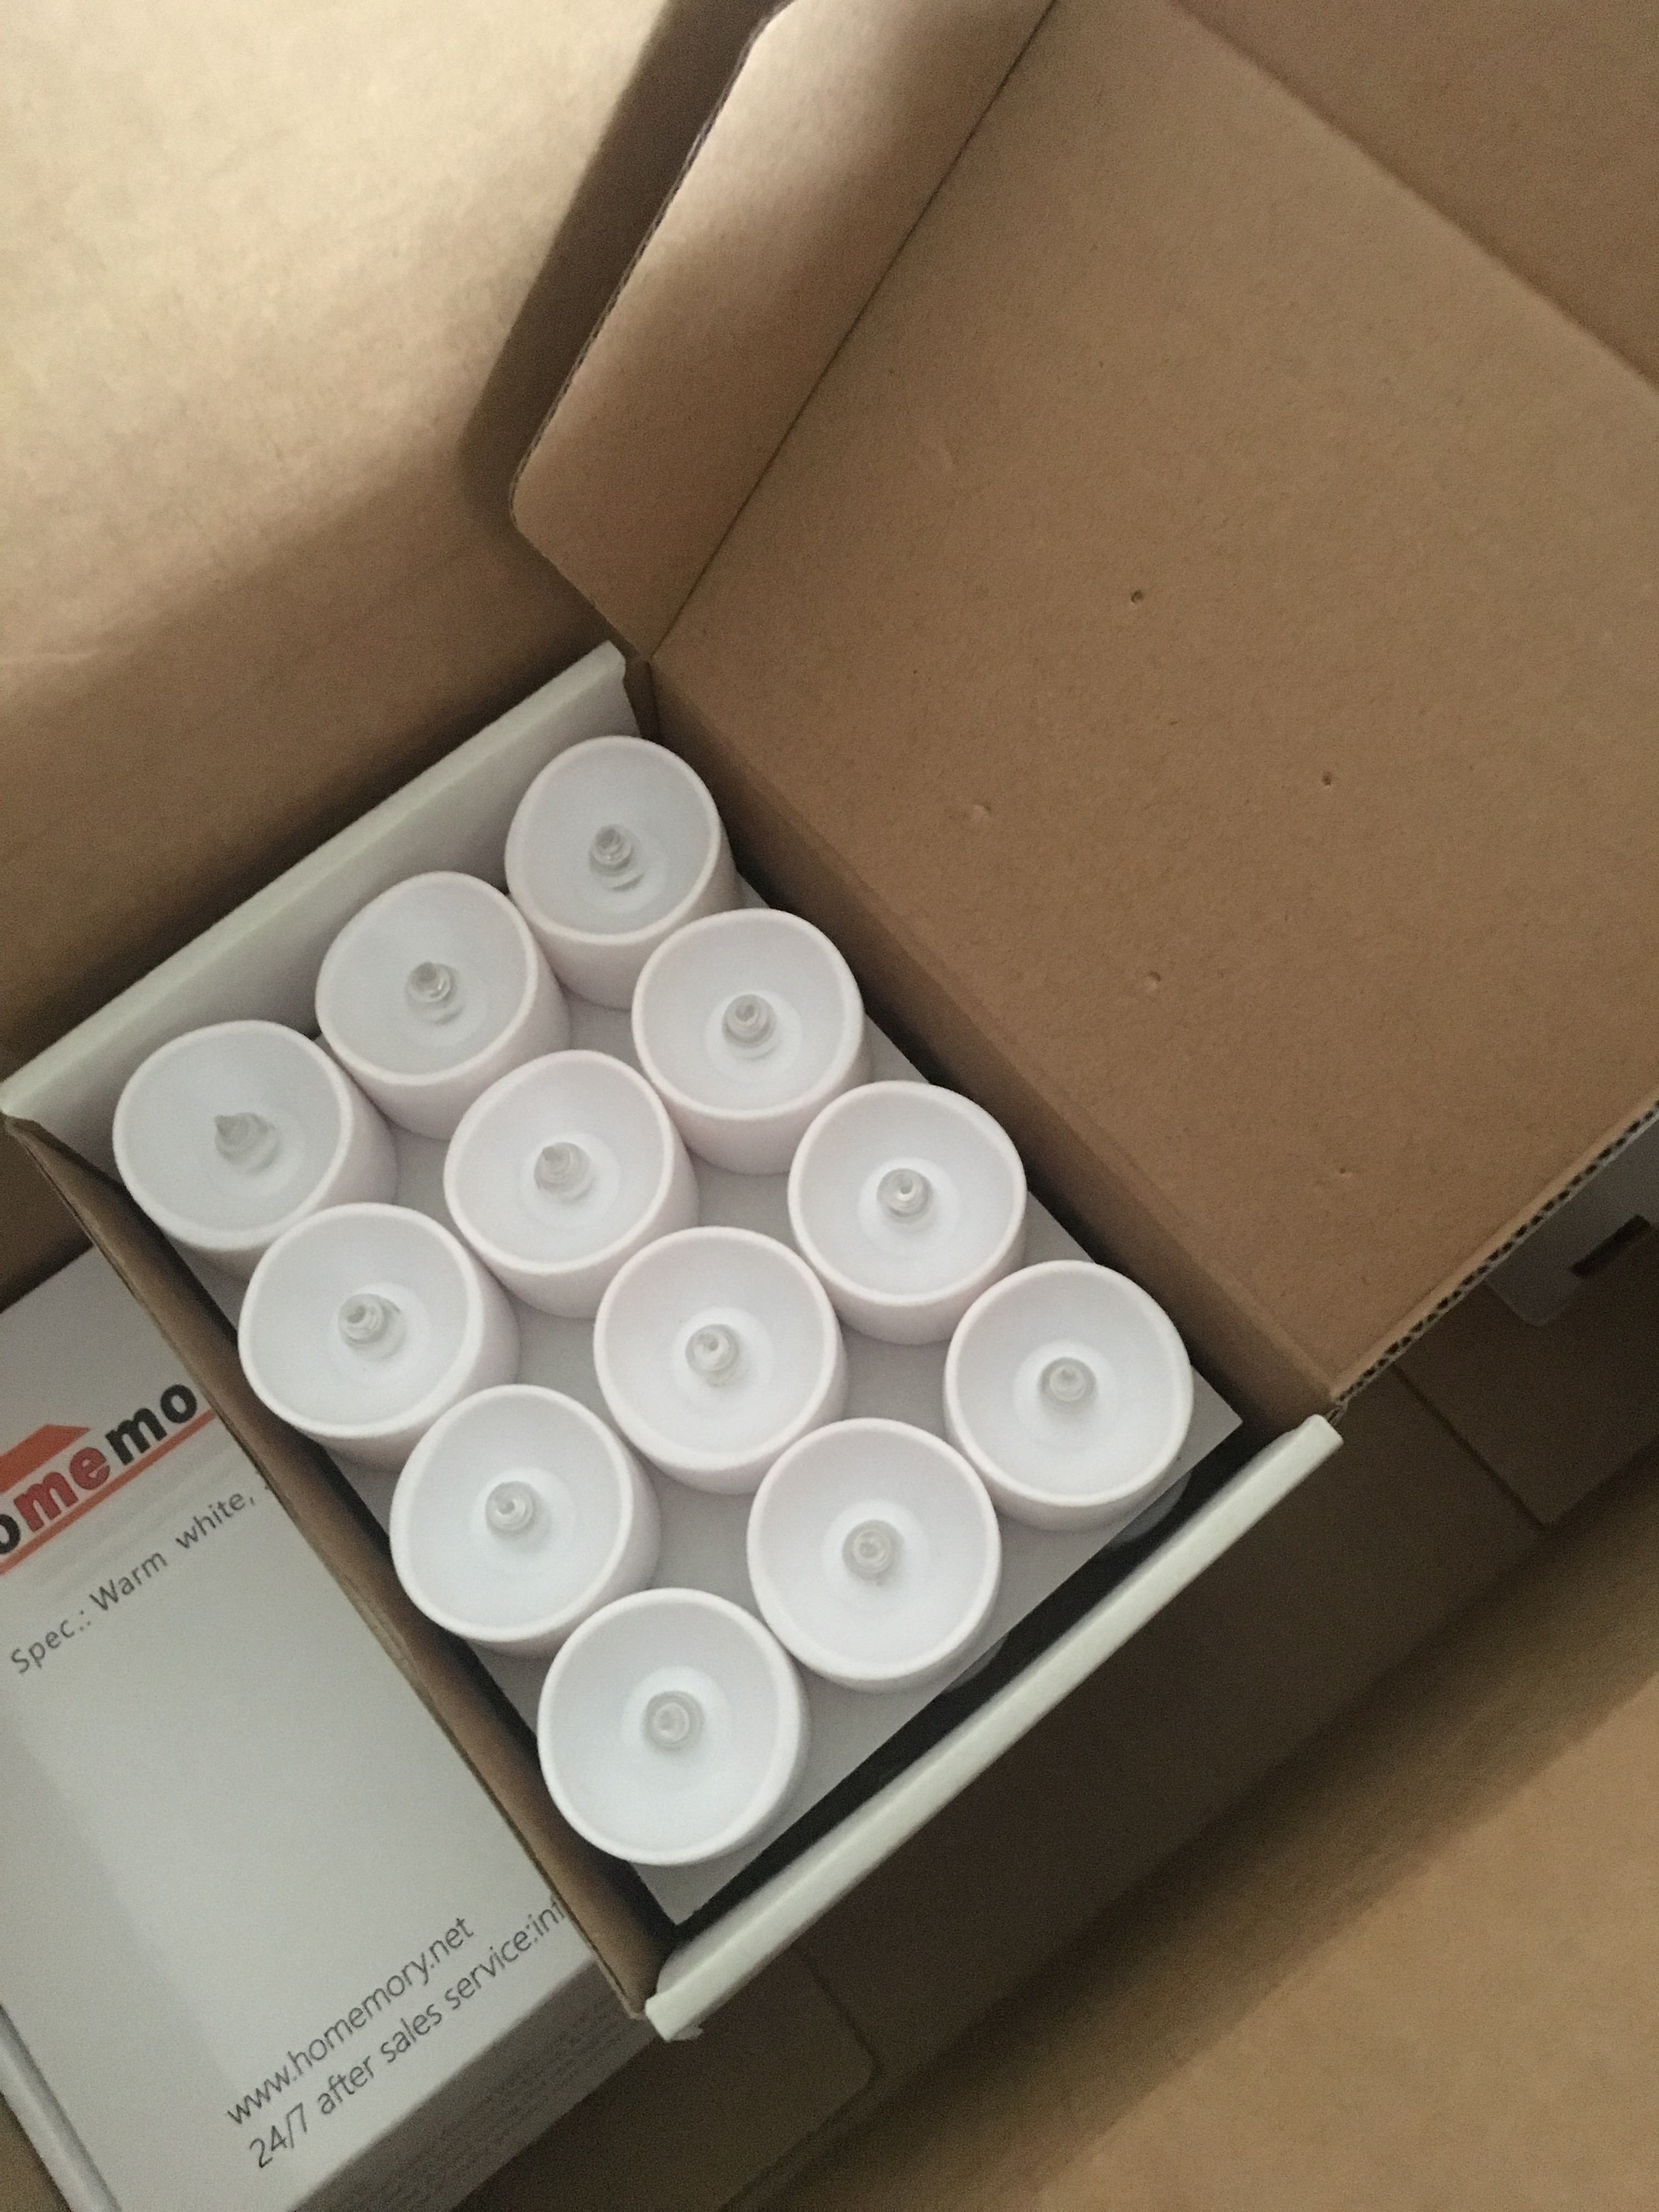
We bought these and these flameless LED candles. We chose these because they’re a warm white color and have a “flickering” effect that makes them look as much like real candles as possible without actually being real candles.
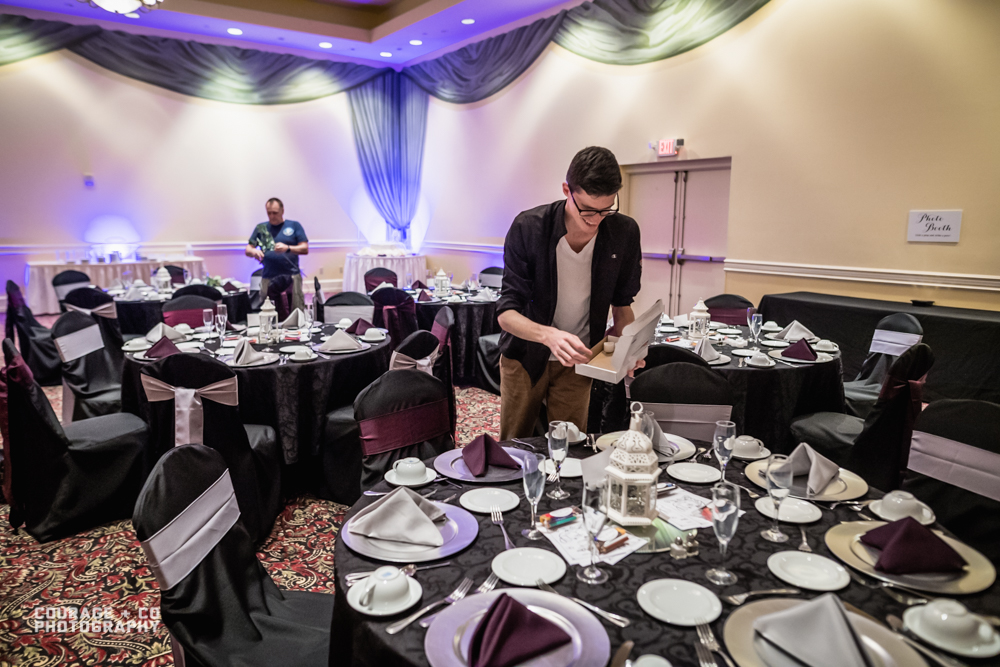
There’s Chris setting up and laying out our tea lights! Each set had 2 boxes of 24 candles, so we had 96 total. With 12 tables this would allow us to put as many as 8 candles on each table, but we only put about 4-6 on each one and used the rest to decorate elsewhere. To be honest they were pretty much identical in person so we probably could have ordered two of the same and it wouldn’t have made a difference, but oh well haha
Flowers
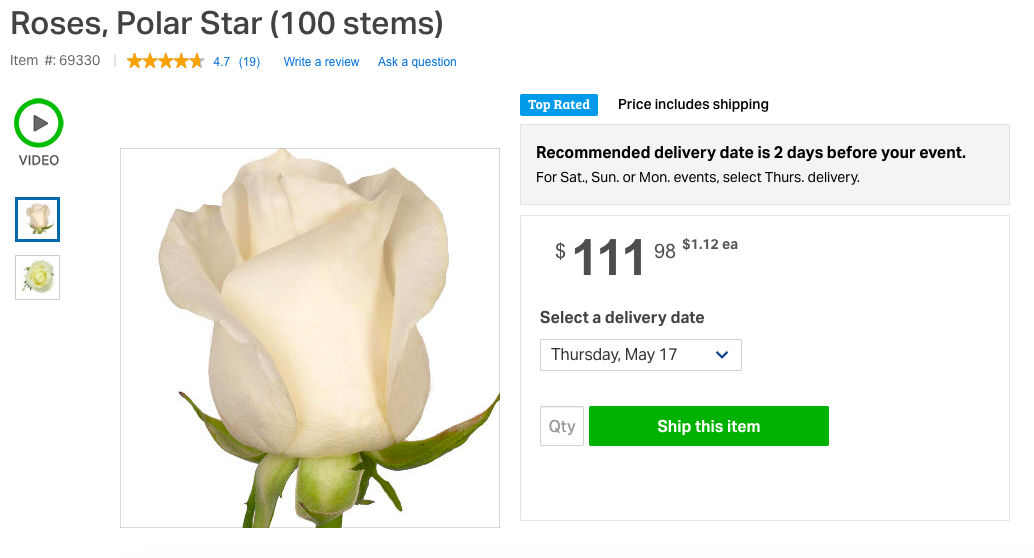
Finally, we needed some flowers to go around the outside of the whole thing. Since I apparently had to be as difficult as possible in making these, I decided that I wanted real flowers for this despite using sola flowers for mostly everything else. My inspiration photo had these pretty, delicate roses, and I just didn’t think we could find fake flowers that would get the same effect. We looked around for the best place to find real flowers including several online retailers and wholesale clubs, and we ultimately settled on Sam’s Club as the best price. Obviously the price fluctuates depending on the season, but we ordered 100 roses (the color/style we chose was “polar star”) from Sam’s for $126.98, or roughly $1.26 per rose.
Now, the difficult part with working with real flowers is that you have to order them right before your event so that they’re fresh the day of. We ordered them to be delivered January 30, 3 days before the wedding. We had a little bit of a shipping fiasco – basically, I was sitting at home eagerly awaiting my delivery with absolutely no distractions, and the delivery guy CLAIMED to have “attempted delivery” but no one ever rang our doorbell, knocked, or made any indication that they were attempting to deliver anything. After a few phone calls in which I had to use my customer service fake-nice-but-still-stern voice, we finally got our roses. I guess use this as a cautionary tale – put a note on the door or something to make sure your delivery person knows you’re home haha
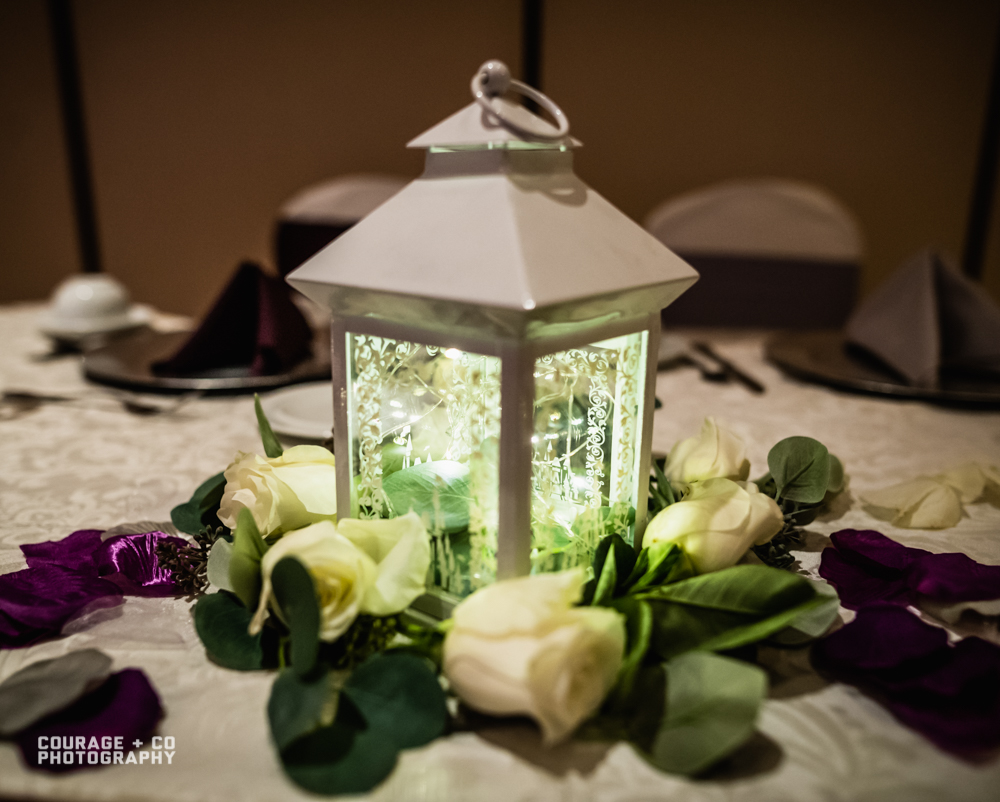
The Finished Product
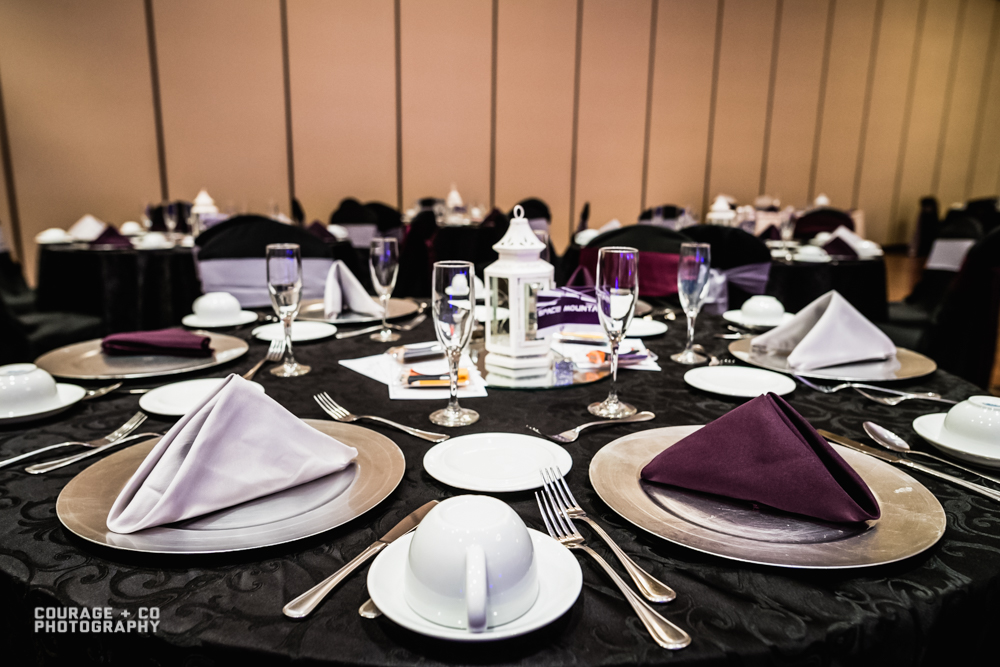
ANYWAY we had all the necessary pieces now and I think they really came together beautifully at the wedding!!!
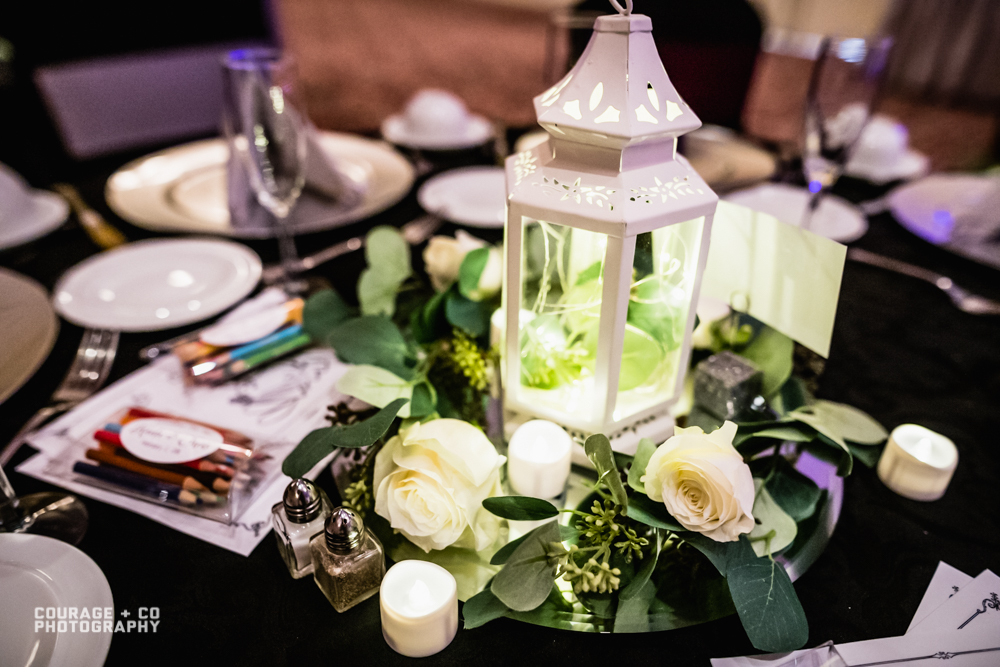
As you can see in the photos, we also had these really pretty circular mirrors underneath all of it – those were provided by our venue, and I’m really glad we used them. They brought it all together in a cool way and made it look really nice! You may also spy a sneak peek of one of my other upcoming DIY posts – we had coloring books and colored pencils laid out on all the tables for our guests to enjoy and take home as a favor at the end of the evening 🙂 but those will come in a future post!
Overall I’m extremely pleased with how our centerpieces turned out. They’re not anything super original or mindblowing, but they’re really pretty and they were mostly easy to put together once we had a vision in mind. The most difficult part was really the flowers, and even that wasn’t a super huge deal (though it sure seemed like it at the time!)
I really hope you enjoyed this post along with all of my other wedding posts!! As always the photography throughout this post was from our lovely photographer Jake at Courage & Co Photography. Thank you for reading and stay tuned for my next wedding DIY post…I still have a few up my sleeve 🙂
xo!